Getting Started
Create your first project, find your way around, and run your first live mix.
This page takes you from opening Filament for the first time to a project on screen and your first clip playing live.
Trial or paid, it's the same app
There's one download for everyone — grab the latest build from filament.click/download and you're in the trial right away. No separate "pro" installer. If you've already bought a license, activate it under Settings → License without reinstalling.
The trial gives you the full editor, so you can map, route, mix, and preview on your real rig. Three things stay locked until you activate: exports are disabled, live output glitches every 20 seconds, and all video output carries a watermark. The full rules are in Licensing and Trial.
While you're on the trial, a bar at the top of the Library page offers Buy Filament and Enter License Key. It disappears once your license checks out.

If Filament crashed last time
Filament snapshots your project a second or two after every edit. If a session ended with unsaved changes — a crash, a force-quit, the machine going to sleep — you'll get a Recover unsaved work? dialog on the next launch. Pick Restore autosave to load the recovered version, or Discard autosave to keep your last save. That's the net that stops a crash from costing you a show.
The landing workspace
Filament opens on the Library page, which doubles as your project home: a Project settings card for the open project, and a Recent projects list. The first time in, the list is empty — hit New Project to start.
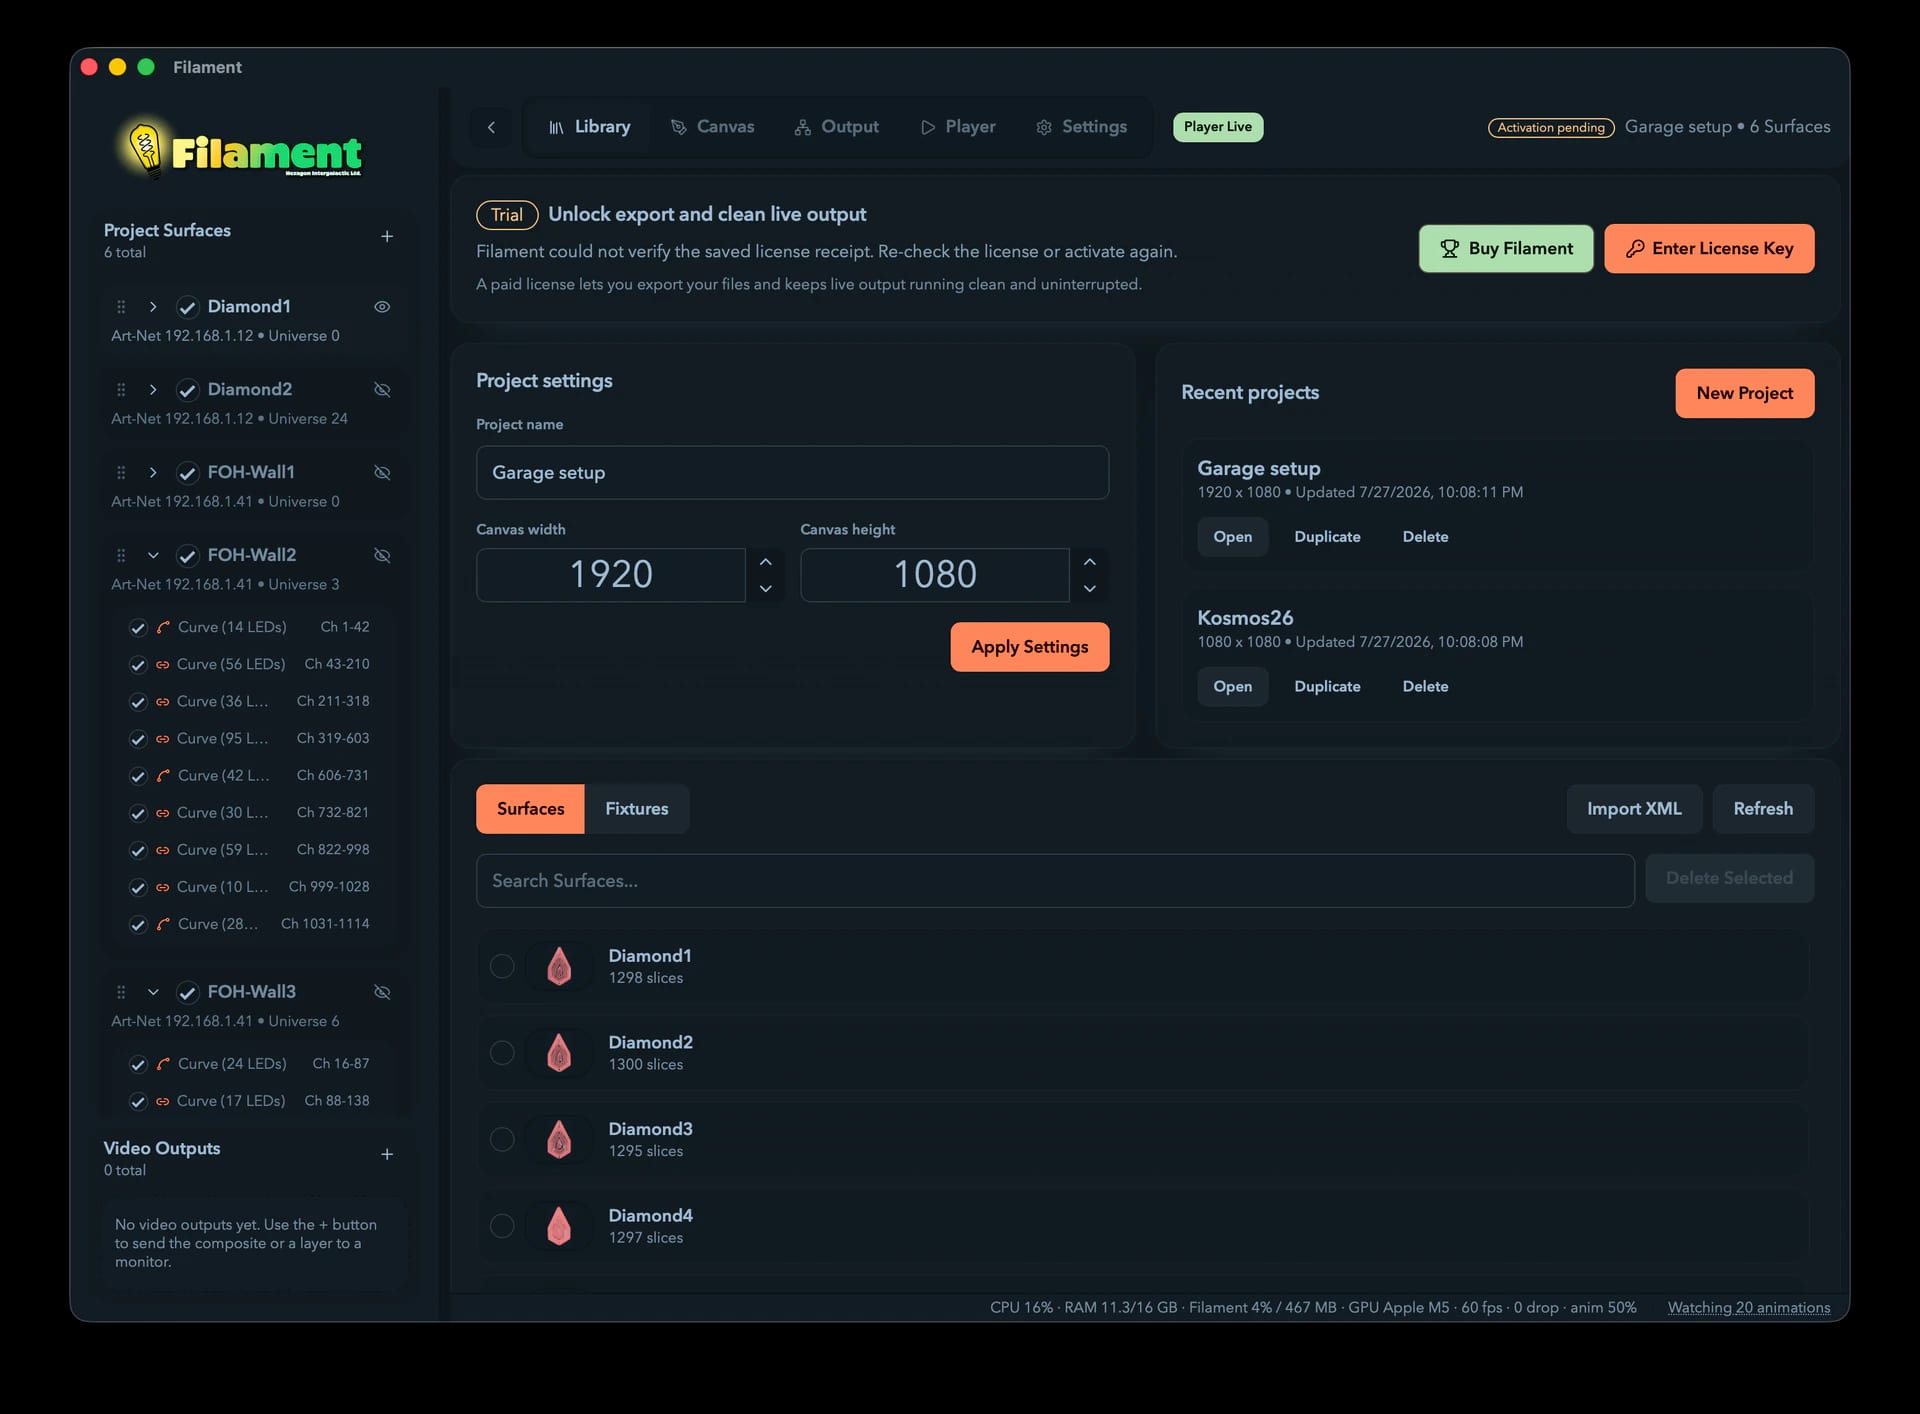
Recent projects
Your ten most recently updated projects, each with three buttons:
| Button | What it does |
|---|---|
| Open | Loads the project and jumps to the Canvas |
| Duplicate | Copies it, opens the copy, and jumps to the Canvas |
| Delete | Removes it for good (asks first — it can't be undone) |
The same list is mirrored under File → Open Recent.
Creating a project
New Project (or File → New Project…, or Cmd/Ctrl + N) asks for two things:
- Project name — give it something you'll recognize ("Main Stage LEDs", "Arch Installation"). Leave it blank and it becomes "Untitled Project".
- Canvas preset — the size of your virtual stage, in pixels.
Hit Create Project and you land on the Canvas.
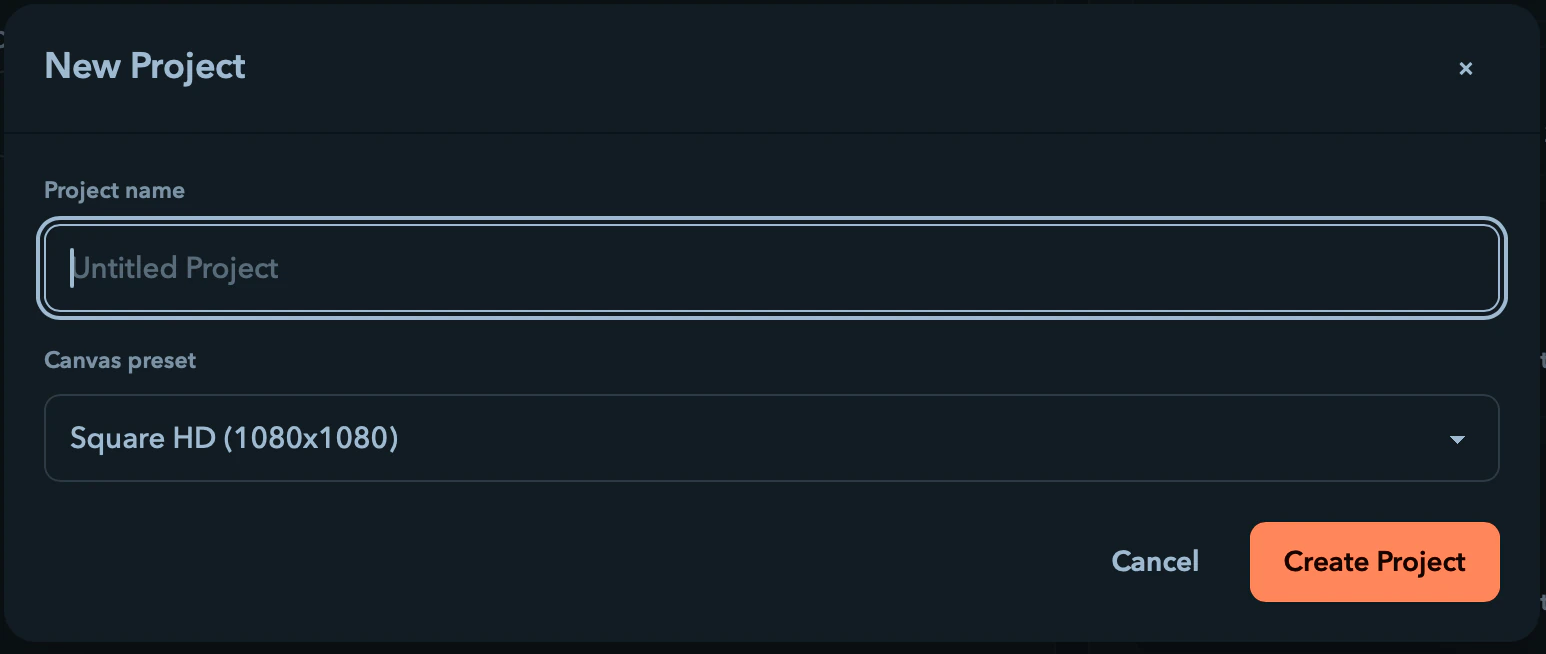
Canvas presets
| Preset | Size |
|---|---|
| Full HD | 1920 × 1080 |
| 4K UHD | 3840 × 2160 |
| Square HD (default) | 1080 × 1080 |
| Vertical HD | 1080 × 1920 |
| Custom | enter your own Width and Height |
Pick Custom to type your own dimensions — anywhere from 1 to 16,384 pixels per side. The canvas is just a coordinate system, not a render resolution, and you can resize it later from the Project settings card.
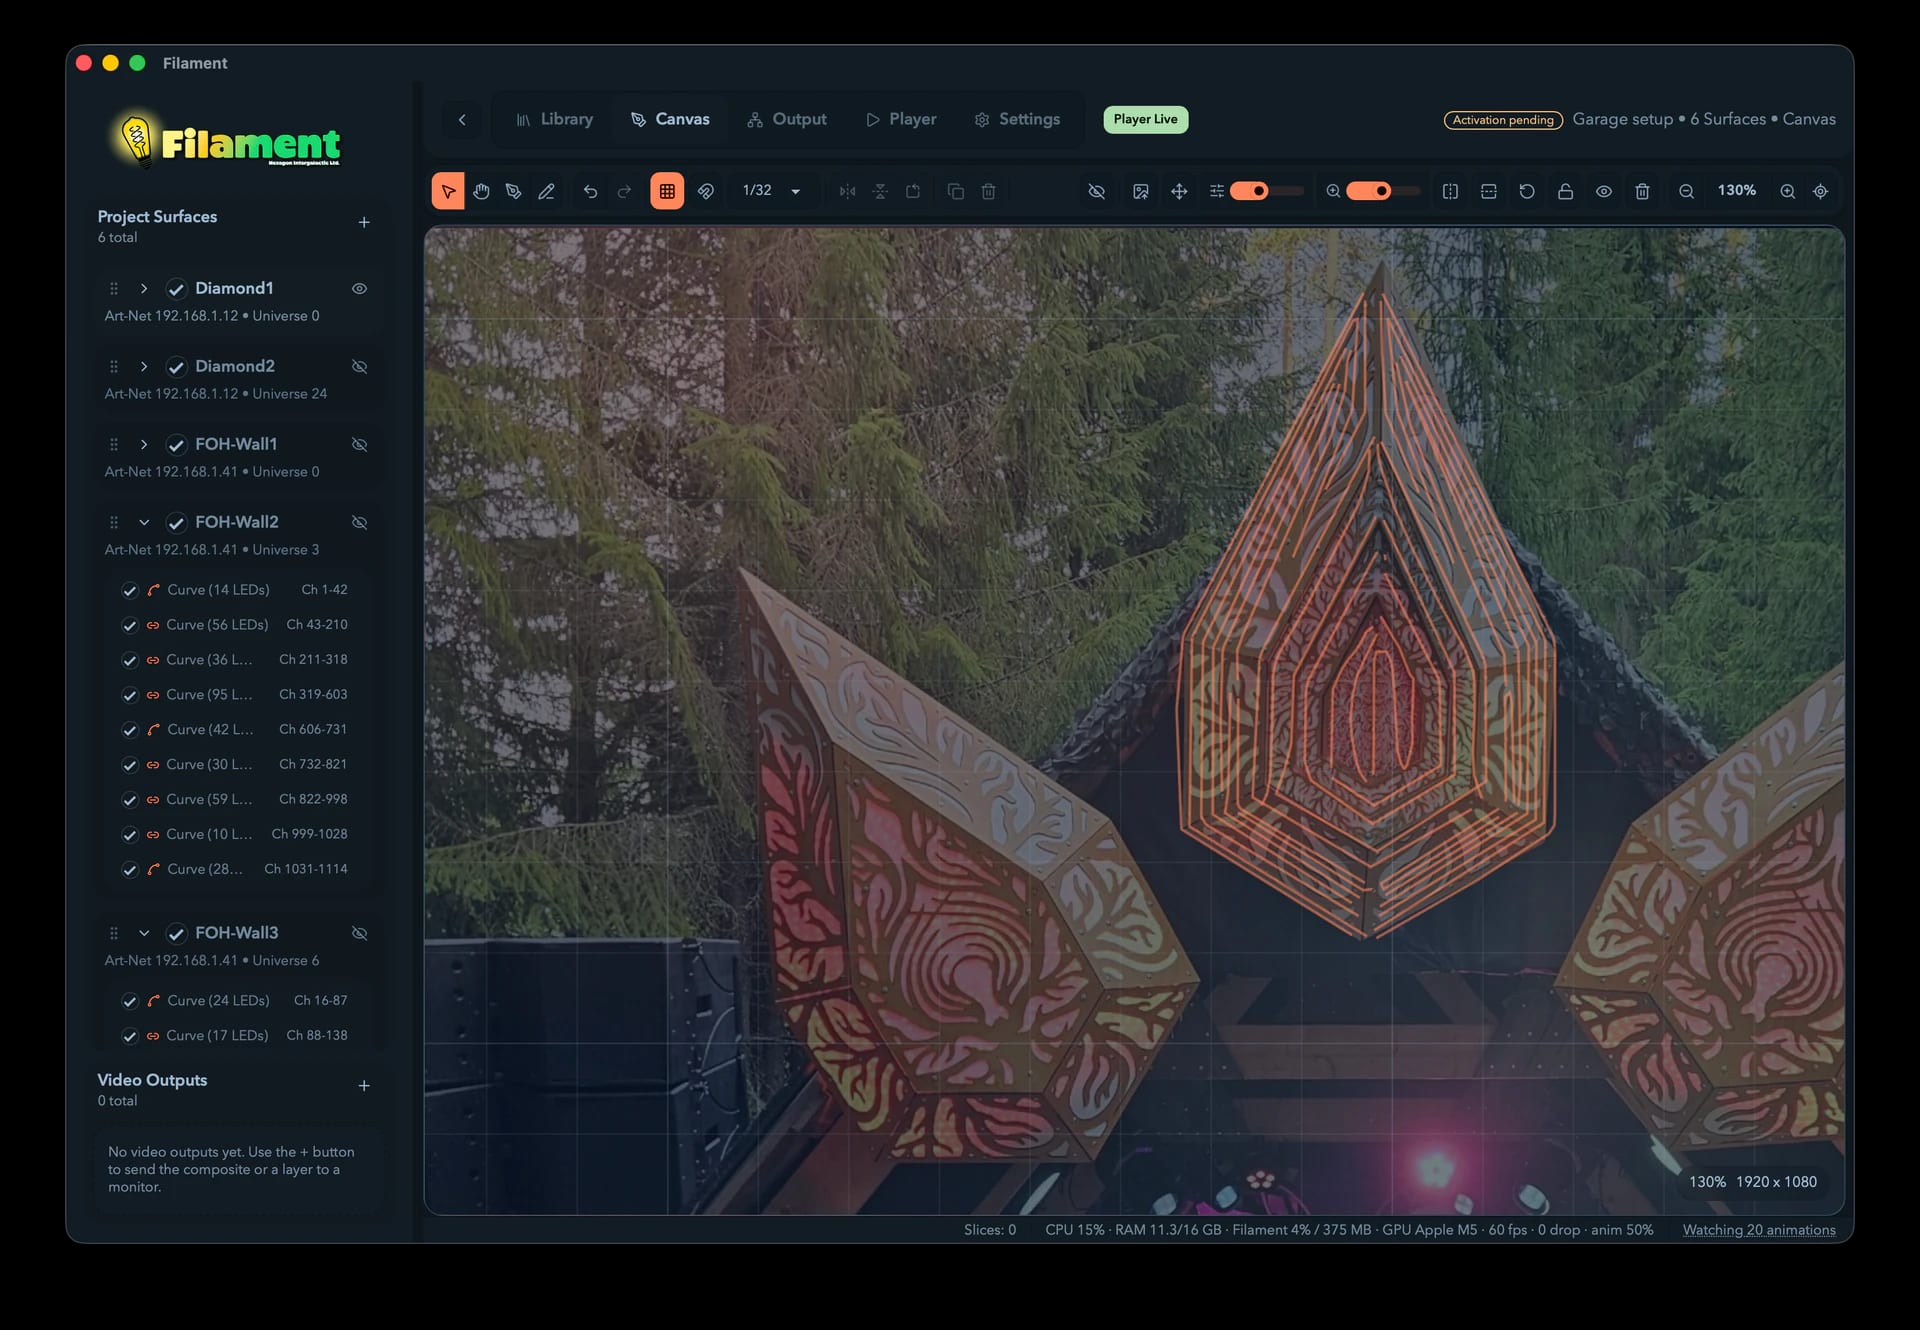
Finding your way around
Five tabs run across the top:
| Tab | What you do here |
|---|---|
| Library | Manage projects, Surfaces, and fixtures |
| Canvas | Draw LED layouts visually |
| Output | Route to your hardware over Art-Net or sACN |
| Player | Build a clip grid or compose a timeline, mix layers, and drive your LEDs live |
| Settings | Devices, paths, audio, MIDI, tempo sync, and licensing |
The toolbar also shows a player-status pill (Stopped, Live, or Blackout) and your license badge. On the left, the sidebar is your project's structure — Surfaces, and the curves and fixtures inside each one — laid out like a wiring diagram. It tucks away on the Player and Settings pages; toggle it from the chevron at the left of the toolbar. A thin status bar along the bottom echoes the latest message plus the basics: project name, selection count, and whether the player is running.


The big-picture workflow
Blank project to live show, start to finish:
1. Set up your fixtures (Library)
Filament needs to know what kind of LED pixel you're using before you can place any. On the Library page, switch to Fixtures and either Import from Resolume or click Load Presets for the built-in set (WS2812 singles and strips, plus an 8×8 RGB matrix). See Fixtures and the library.
2. Draw your LED layout (Canvas)
On the Canvas tab, grab the draw tool (P) or freehand pen (B) and trace where your strips run. Finish a curve and Filament asks how many LEDs are on it and which fixture to use. See Drawing on the canvas.
3. Route to hardware (Output)
On the Output tab, give each Surface a protocol (Art-Net or sACN), a destination, and a starting universe, then hit Pack Selected Surface to lay its LEDs across channels. See Output & DMX Routing.
4. Build a show and play (Player)
On the Player tab, drag clips onto the grid — animations, video, or live streams — stack them in layers, and press play. Ride the master controls, drop effects on, sync to the beat, and Filament sends the blended result to your LEDs in real time. See The Player.
If the show needs to run the same way every night rather than be played by hand, press Tab for the Timeline and compose it on tracks instead.
5. Export to Resolume (optional)
Want Resolume to drive the rig instead? File → Export XML… writes an Advanced Output file. Export is paid-only — the trial still lets you map, route, mix, and preview first. See Exporting and updates.
You can also send the show straight to a monitor or projector with projection-mapping warp, or share it to Syphon/Spout/NDI — see Video Outputs.
Your first live mix in 60 seconds
Once you have at least one routed Surface:
- Go to Player and open the library drawer on the right.
- Drag a built-in animation onto a cell in the top layer.
- Click the cell to cue it, then press Space. Your LEDs light up.
- Drop a second clip on the layer below, lower its opacity, set its blend mode to
Add, and watch the two looks combine. - Drag an effect from the Effects tab onto either clip and ride its parameters.
That's the whole loop. The Player covers every piece in depth.
Auto-save
Filament saves to a local database — no cloud, nothing to sign into. Tune it under Settings → General: auto-save is on by default and runs on a 1-to-60-minute timer (default 1). The crash-recovery snapshot from earlier is separate and updates after every edit. You can change a project's name or canvas size any time from the Project settings card.
Two keys worth learning first
Cmd/Ctrl + K opens the command palette. Type a few letters of anything — a menu action, a page, a settings category, a palette — and hit Enter. It matches subsequences, so nwp finds New Project. When you can't remember where something lives, this is faster than looking.
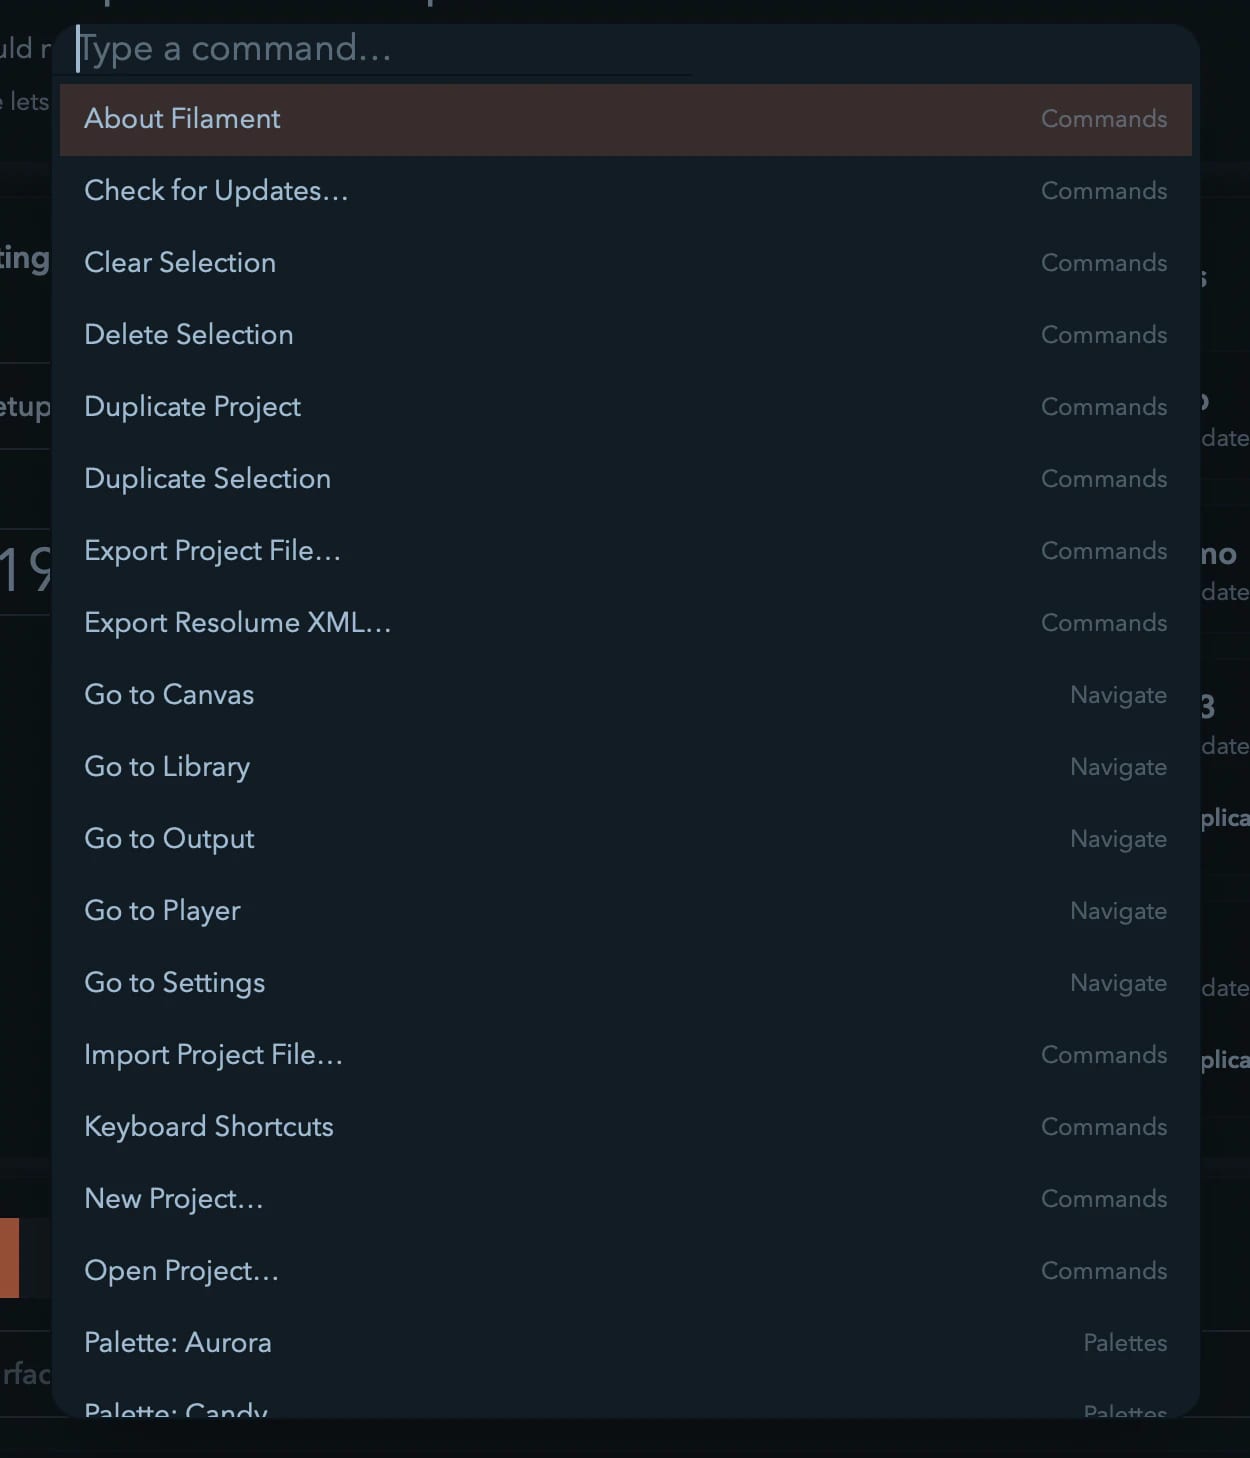
Cmd/Ctrl + / opens the Keyboard Shortcuts dialog. It's searchable and grouped by where each key works, and every entry in it does something real.
After that, a handful to start with:
| Key | Action |
|---|---|
V | Select tool |
P | Draw curve tool |
B | Freehand pen (toggles blackout in the Player) |
G | Toggle grid |
Space | Play / Pause (in the Player) |
Tab | Session ↔ Arrangement (in the Player) |
Cmd/Ctrl + Z | Undo |
The full list is on the Keyboard Shortcuts page. It's worth a skim once you've got a project open — most keys are scoped to a page, so there's less to memorize than the length suggests.
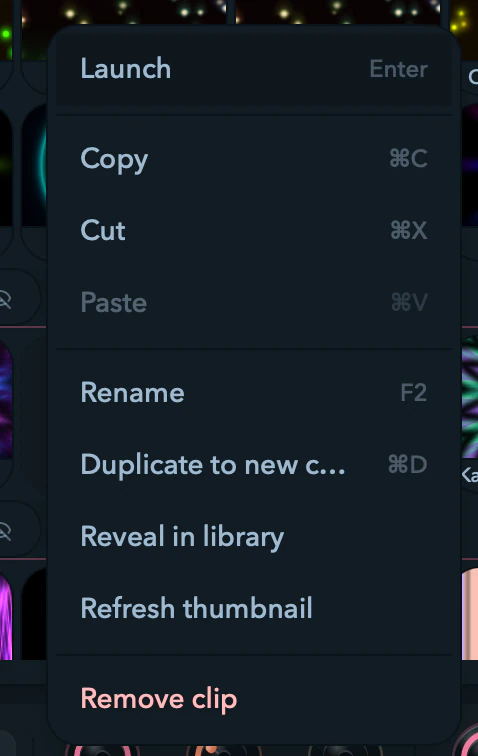
Right-click, too. Almost every surface in Filament has a context menu, and the menus show the key hints for what they do, so you learn the shortcuts by using the mouse.
About Filament
To check your version, open Help → About Filament (or Filament → About Filament on macOS). It shows the version, the copyright line, and links to the website and support.
What is Filament?
Filament is a desktop LED mapper and video mixer/player — map your LEDs in space, then drive them live with animations, video, effects, and external streams.
Surfaces & Fixtures
Manage fixture definitions, build a reusable Surface library, and import saved Resolume Advanced Output configurations.