The Player
The Player is Filament's live mixing workspace — a grid of layers and columns where you cue clips, blend looks, and drive your LEDs in real time.
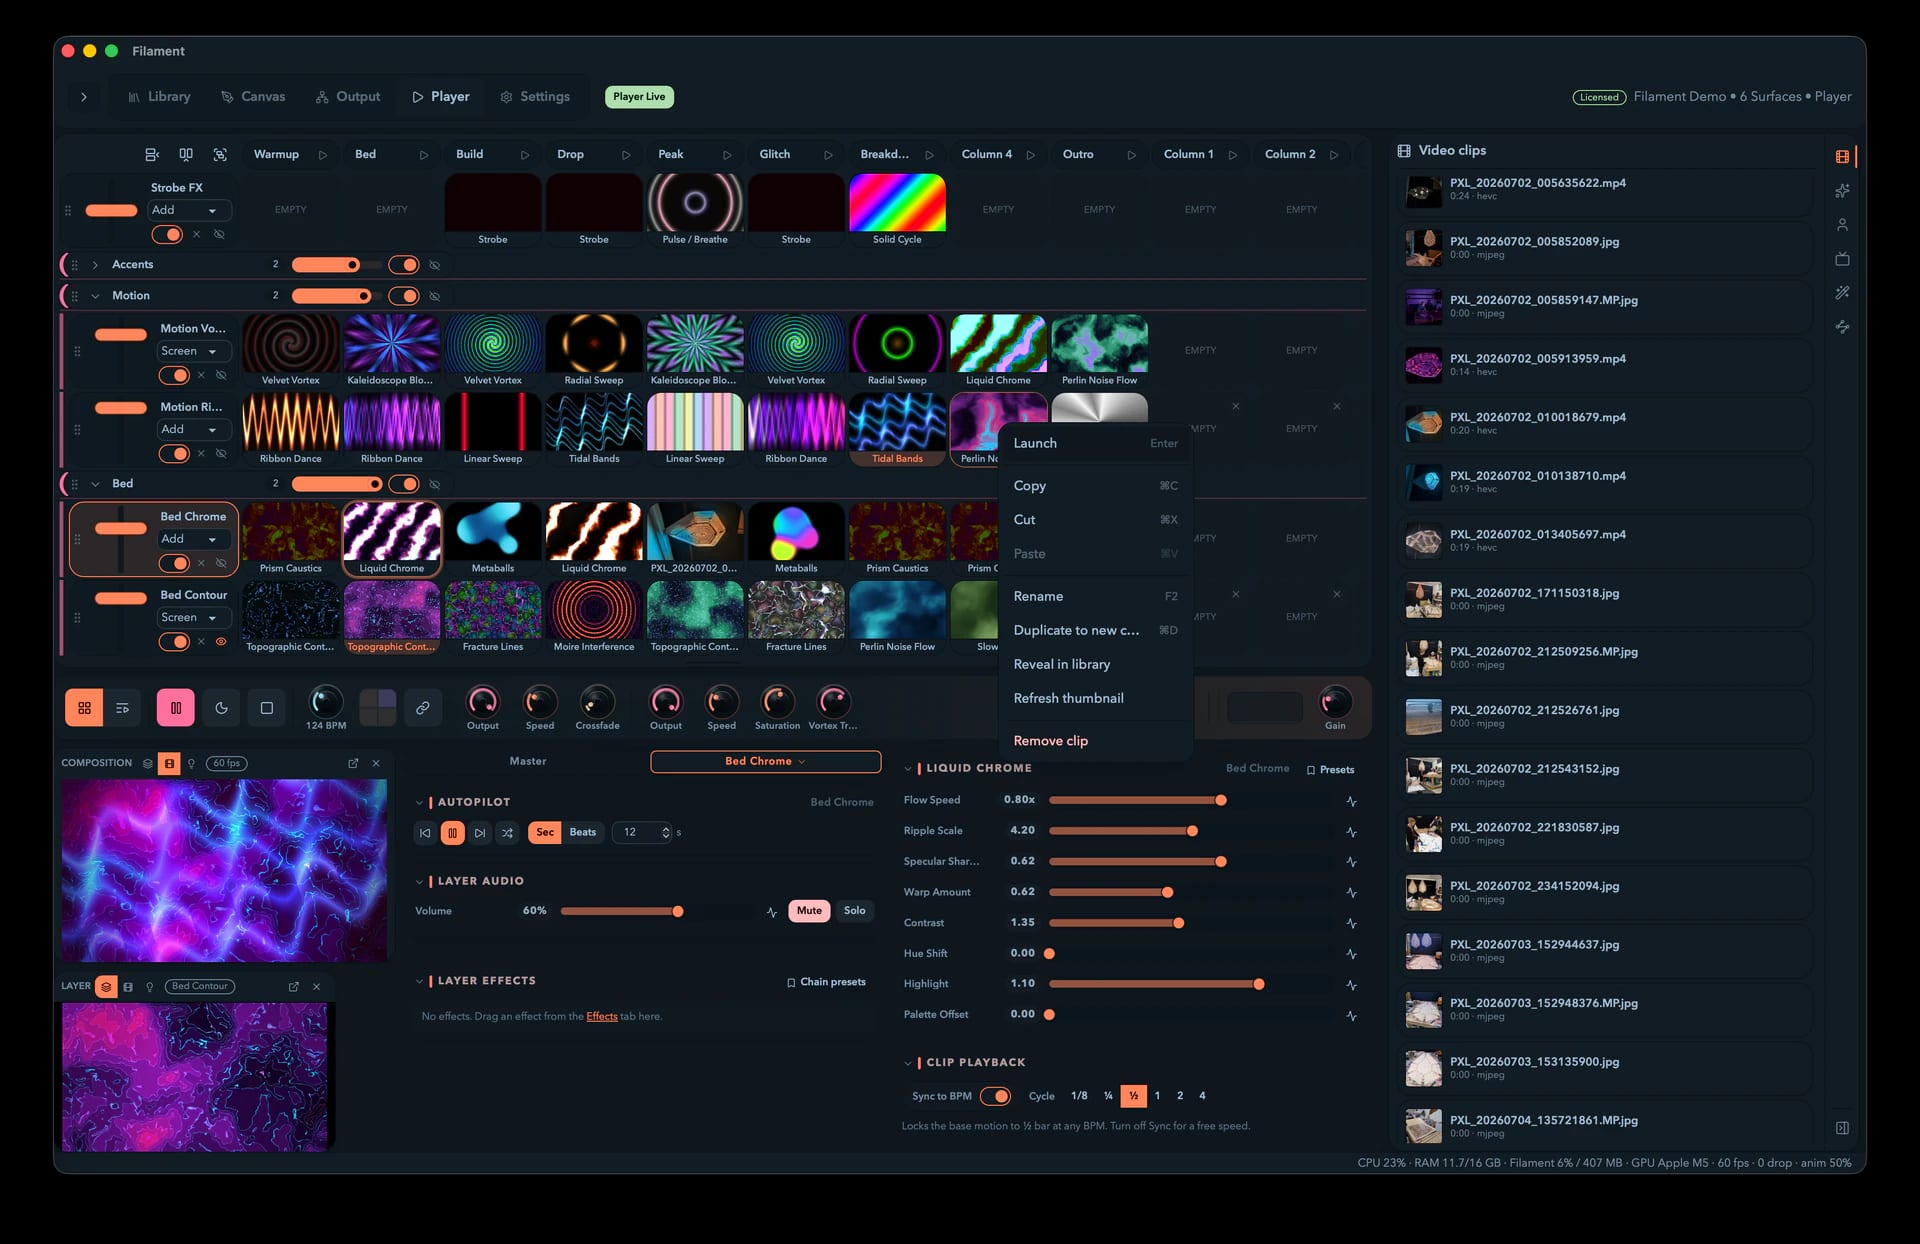
The Player is where a project comes alive. It's a grid: rows are layers that blend over each other, columns group your clips, and every cell holds one clip. Fill the grid, press play, and Filament composites the layers and sends the result to your LEDs through the Surfaces you routed on the Output page.
It works like a proper VJ surface — many layers, many clips, autopilot, effects, and live modulation, all on one page.
The Player has two views. This page covers Session, the grid you drive by hand. Tab flips to Arrangement, the Timeline, where the same project is composed on tracks over time. Same layers, same effects, same outputs — one of them driving playback at a time.
Beyond LEDs, you can route the composite, a group, or any single layer to a monitor or projector — see Video Outputs.
The grid
- Rows are layers — up to 32; new projects start with three. Each layer has its own opacity, blend mode, effect chain, and autopilot, and blends over the layers below it. The topmost row is the top of the blend stack.
- Columns — new projects start with eight, with no cap. Read across all layers, a column is a "look" you can build and cue.
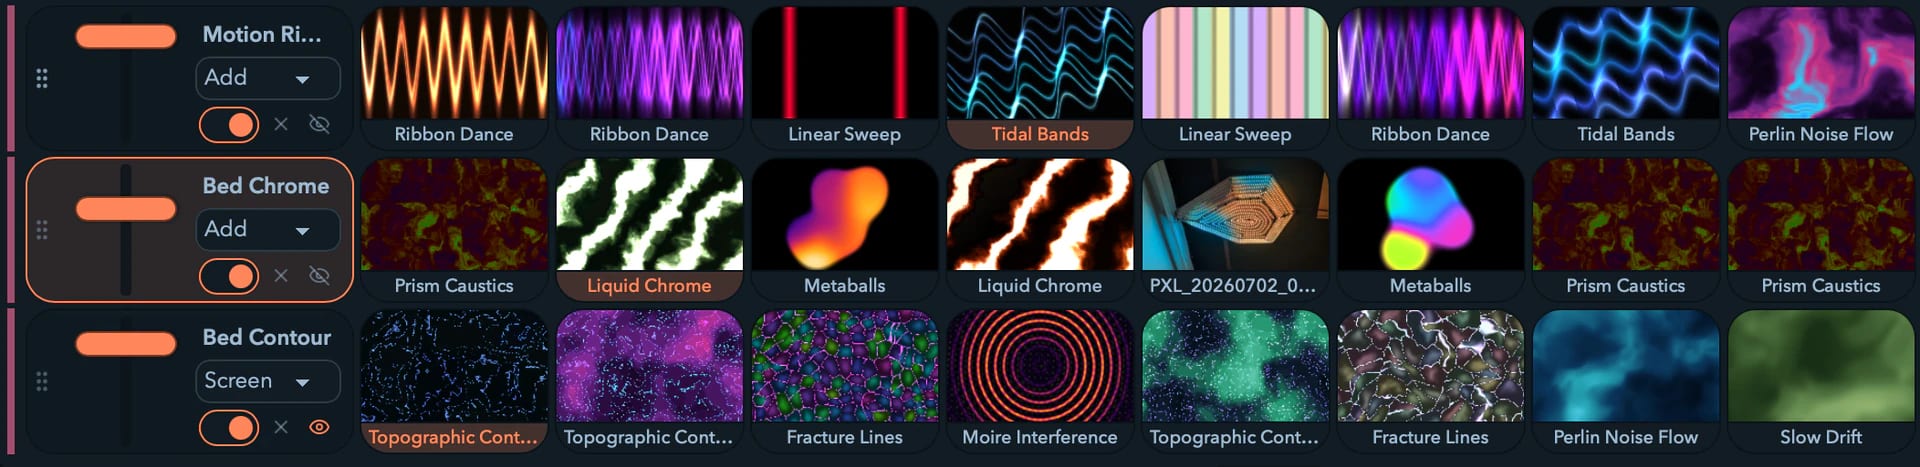
- Cells sit at every layer × column intersection, each holding one clip or sitting empty. Empty is fine — layers don't have to fill every column, and autopilot skips the gaps.
A clip is one of:
- an animation — built-in or one you authored (Animations & Palettes)
- a video file — from a watched media folder (Video Clips)
- a live external source — NDI, Syphon, or Spout (External Sources)
Growing the grid
The sticky corner cell at the top-left holds two ghost buttons: Add layer (appends a layer, disabled at the 32-layer limit) and Add column (appends one to the right).
A resize handle runs along the bottom edge of the grid card. Drag it up to shrink the grid — it scrolls internally — and free up room for the panels below, or drag it down to show every layer at once. With the handle focused, ↑ / ↓ step one row at a time and Home / End jump between one row and the full stack. The height persists between sessions.
Layers (rows)
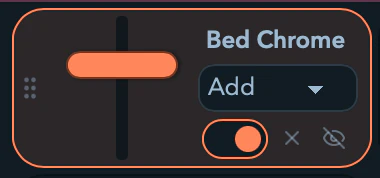
Each row's header runs down its left edge: a grip handle and a vertical opacity fader, then the name, blend-mode dropdown, and toggles.
| Control | What it does |
|---|---|
| Grip handle | Drag to reorder layers in the blend stack. A green line marks where it'll land. |
| Opacity fader | Vertical fader, 0–100%, applied as the layer composites. Drag it, wheel it, Shift for fine, double-click to snap back to full. A badge appears when modulation or MIDI is driving it — and then the drag starts from the live applied value, not the stored one, so you take over from where the sound left it. |
| Layer name | Double-click to rename inline (Enter commits, Esc cancels). |
| Blend mode | Add (default), Multiply, Screen, Overlay, Lighten, Darken. |
| Enable toggle | Switch the layer off to skip it entirely — no render, no blend. |
| Stop (X) | Clears the layer's active cell so it plays nothing. Disabled when there's no active cell. |
| Preview eye | Toggle a small live preview for this layer. State is remembered per layer. |
Click anywhere on a row header's background to select that layer — the pinned panel below the grid switches to it. Right-click for a quick menu: Rename, Disable / Enable, Stop clip, Delete. Deleting asks first and is disabled when only one layer remains.
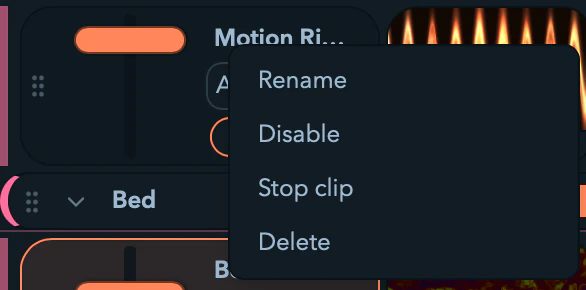
The row header has no transport. A layer's autopilot mode, timing, and effect chain live in the Layer tab of the pinned panel — see Autopilot.
Columns
Each column has a header across the top of the grid:
- Drag a header left or right to reorder it — every layer's cell in that column moves with it.
- Double-click to rename inline (
Entercommits,Esccancels). - Right-click for Launch column, Rename (
F2), Insert column after, Duplicate column, Clear column, and Delete column. Delete confirms if any cell in the column holds a clip, and is disabled when only one column is left.
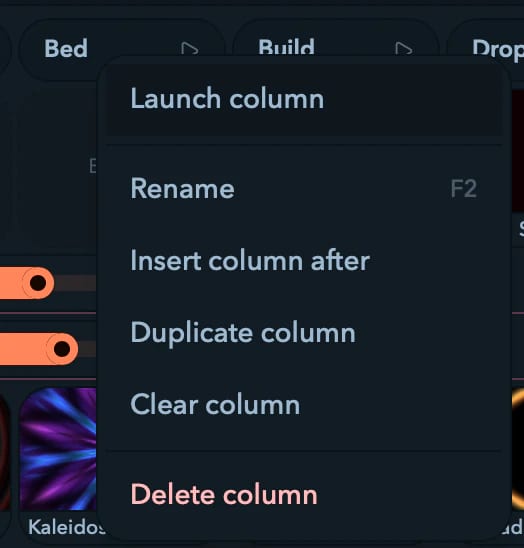
Duplicate column is the underrated one: build a look you like, duplicate it, then vary one layer. That's a set built in minutes instead of a cell at a time.
Add a column with the Add column ghost button in the corner cell. Columns are uncapped. Column headers can also show a launch button — toggle that under Settings → General → Clip grid; either way columns stay launchable from MIDI, OSC, and the Key Map.
Cells and clips
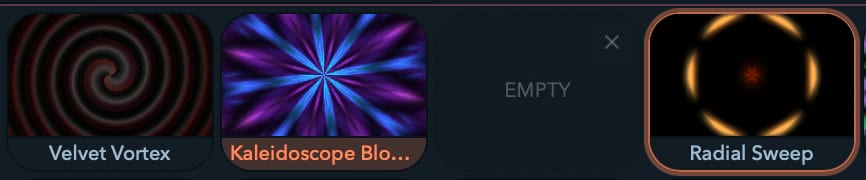
A non-empty cell shows a static thumbnail with a label beneath it, plus two highlight states that can stack:
- Active — this layer's playback is pointing at this cell (the label strip tints with the accent color).
- Selected — a ring marks the cell the pinned panel is editing. The selected cell can differ from the active one, so you can tweak a clip before you cue it.
Thumbnails are static, not live motion, so the page stays calm during a show. Animations show a baked thumbnail (refresh it from the right-click menu); video shows its poster frame; external sources show a TV icon, since there's no offline frame to bake — watch them live in a preview. A clip whose file or media root has gone missing dims and grays out with a media missing badge, so you can re-point or clear it.
Cell interactions
A non-empty cell has two click targets:
- Click the image — cues the clip on its layer (making it active) and selects it for editing.
- Click the name — selects it for editing without changing what's playing. Double-click the name to rename the clip; clearing the name falls back to the animation or file name.
Clicking an empty cell only selects it. It does not stop the layer — a misclick on a gap in the grid shouldn't drop a layer out of the show. When you do want to stop a layer from the grid, a discrete Stop (X) glyph appears on that layer's empty cells while it's playing; click it.
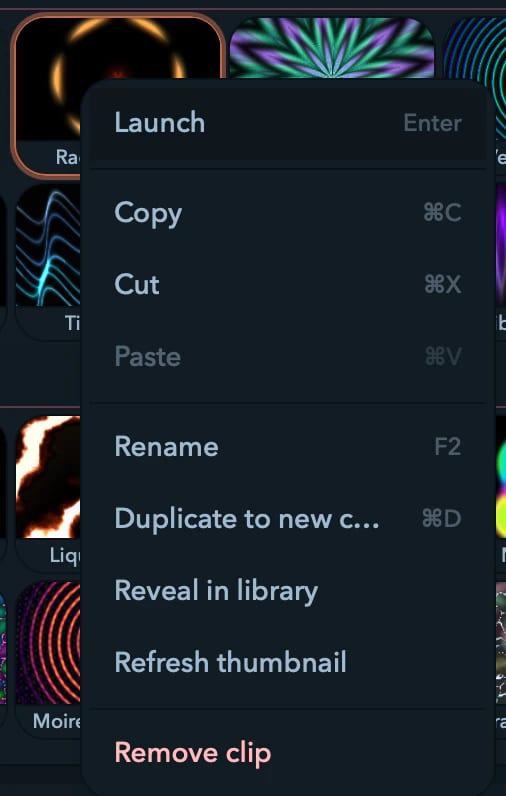
Right-click a cell for:
| Item | Action |
|---|---|
Launch (Enter) | Cue it |
| Copy / Cut / Paste | The cell clipboard (below) |
Rename (F2) | Inline rename |
| Duplicate to new column | Inserts a column to the right and copies the clip there as an independent, deep copy |
| Reveal in library | Jumps to the source tile in the library drawer |
| Refresh thumbnail | Re-renders the clip at its current parameters and saves the frame on the clip, so it travels with the project. Animations only |
| Remove clip | Clears the cell |
An empty cell offers Paste.
Filling cells
Drag a tile from the library drawer onto:
- an empty cell — fills it. Dropping never starts playback; cue the cell when you're ready.
- a non-empty cell — overwrites it immediately, no prompt.
- a column header — inserts a new column to its right and drops the clip into the layer your cursor was over.
- a row header — appends a rightmost column and drops the clip into that layer.
Rearrange clips already on the grid by dragging a cell. Plain drag moves the clip — dropping onto an occupied cell swaps the two, onto an empty cell vacates the source. Hold Alt to copy it instead, leaving an independent copy at the drop.
Video files can also be dragged straight from Finder or Explorer onto a cell. A multi-file drop fills consecutive cells rightward, growing columns as needed; overwritten cells flash briefly. Files outside a registered media root prompt you to add the folder under Settings → Paths & Media — see Video Clips.
Effect tiles drop onto a cell (appends to that clip's chain) or a row header (appends to the layer's chain) — see Effects.
The cell clipboard
Cmd/Ctrl + C, X, and V work on the selected cell. A paste re-mints the clip ID and clones its parameter state, so the copy is fully independent — tweak one and the other doesn't move. Pasting onto an occupied cell overwrites it; cutting clears the source. Switch projects and the clipboard clears.
Keyboard around the grid
| Key | Action |
|---|---|
← / → | Step the selected layer to its previous / next occupied clip |
F2 | Rename — selected group first, then cell, then layer |
Esc Esc | Panic: two Escapes inside half a second stop every layer |
Arrow-stepping skips empties, clamps at both ends, and doesn't wrap. Hold → and you walk to that layer's last clip and stay there, rather than looping around to the first one at the worst possible moment.
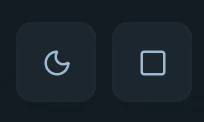
Panic also has a Square button next to Blackout. It crossfades every layer out, leaves blackout alone, and writes no undo entry — it's a safety net, not an edit. Learn where it is before you need it.
Launching from bare keys
The Key Map turns single keys into clip launchers, which is how you play a set without a controller plugged in.
Open the library drawer to Connections (F6), click Key Map to arm it, click a cell, then press the key you want. Repeat for as many cells and column headers as you like, then disarm — from then on that key fires that cell.
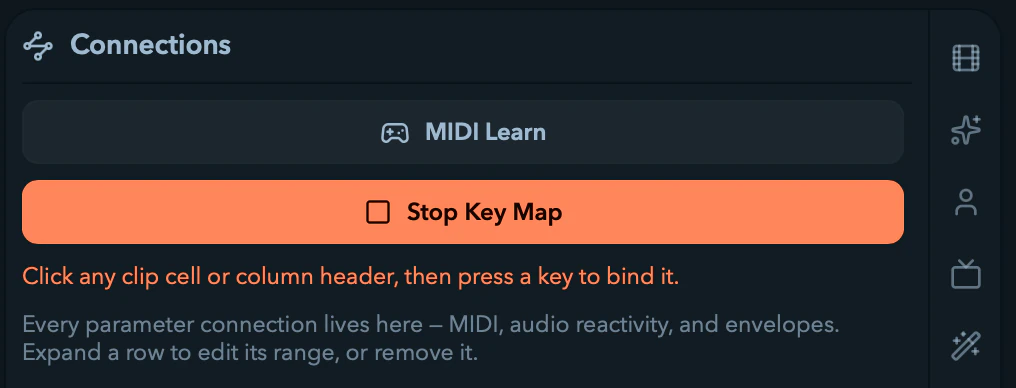
Keys the transport already owns are refused: Space, Tab, Esc, F2, ←, →, b, t, [, ], -, =, +. Arming the Key Map disarms MIDI Learn and vice versa, so you're never accidentally binding two things at once. Bindings save with the project.
The library drawer
The right edge of the Player is a slide-out library drawer with an icon rail. Each icon opens a tab, and each has a function-key shortcut that opens the drawer straight to it:
| Tab | Shortcut | Holds |
|---|---|---|
| Video clips | F1 | Files from your watched media folders. See Video Clips. |
| Animations | F2 | The built-in animation catalog, grouped by category. See Animations & Palettes. |
| User animations | F3 | Animations you imported from .filament-animation files. |
| External sources | F4 | Discovered NDI / Syphon / Spout feeds. See External Sources. |
| Effects | F5 | Built-in and custom effects to drag onto clips, layers, or the master. See Effects. |
| Connections | F6 | MIDI mappings and parameter modulation. See MIDI Control and Modulation. |
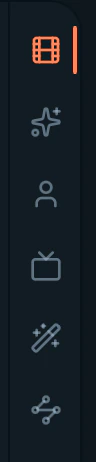
Cmd/Ctrl + Alt + 1…6 does the same thing if the function keys are spoken for by your OS. Pressing a tab's shortcut while it's already showing hides the drawer; the drawer's width persists between sessions.
Getting tiles onto the grid
Dragging is the obvious route, and there are two faster ones:
- Double-click a tile — loads it into the selected cell. Double-click an effect tile and it goes onto the resolved chain: clip if a cell is selected, otherwise group, layer, then master.
- Focus a tile and press
EnterorSpace. Arrow keys,Home, andEndmove focus across the panel's tiles, so you can walk a catalog and load without touching the mouse.
While a tile has focus the arrows belong to the tiles — they won't also drive the transport or step the grid behind you.
Right-click a tile for its shortcuts: a built-in animation offers Add to selected cell; an effect offers Add to selected cell / group / layer / master chain. A user animation or effect adds Reveal in Finder for its bundle, alongside Open folder for the user root.
Searching
Cmd/Ctrl + F opens the drawer if it's collapsed and drops the cursor into the active panel's search field. Escape clears a non-empty query; a second Escape blurs the field and hands the keyboard back to the app.
The master bar
A dense single-row master bar sits beneath the grid and holds the global transport and master controls:
| Control | What it does |
|---|---|
| Session / Arrangement | Switch views (Tab). The view showing is the view driving playback. |
| Play / Pause | Start or pause playback. |
| Blackout | Cut all LED output to black; the show keeps running underneath. Press again to restore. |
| Stop all | Crossfade every layer out (Session only). Blackout is untouched. Also Esc Esc. |
| BPM | The transport tempo. When an external clock owns the tempo, the knob goes read-only and shows the live effective BPM. |
| Tap tempo | Tap on the beat to set BPM. Under an external clock it becomes Set downbeat — tap on the DJ's downbeat to re-align the bar. Its quadrants flash with the beat. |
| Resync | Re-anchor the beat to now. |
| Tempo source | Pick the clock — Internal or external. See Tempo & Sync. |
| Output | Master brightness, 0–100%. |
| Speed | Procedural playback speed, 0.1–3.0×. |
| Xfade | Master crossfade time, 0–5000 ms, applied when any layer switches clips. 0 is a hard cut; higher values blend outgoing and incoming. There's no per-layer crossfade. |
| Dashboard | Drag any control's label here to pin it for quick reach. See Master & Preview. |
| Audio monitor + Gain | A live input spectrum and a gain knob feeding audio reactivity. |
Most knobs here can be MIDI-learned or modulated; a badge marks one the runtime is currently driving.

Keyboard shortcuts
While the Player has focus and you're not typing in a field:
| Key | Action |
|---|---|
Space | Play / Pause |
Tab | Switch Session ↔ Arrangement |
B | Toggle Blackout |
T | Tap tempo |
[ / ] | Nudge Speed down / up by 0.1× |
- / + | Nudge Output brightness down / up by 5% |
Esc | Exit MIDI Learn (when armed) |
F1–F6 jump to the library-drawer tabs; the grid keys are up in Keyboard around the grid. Full list on the Keyboard Shortcuts page, or Cmd/Ctrl + / in the app.
Every knob answers to the same gestures
Once you know these four, you know every control in the Player — master knobs, effect parameters, opacity faders, audio-shaping pots:
| Gesture | Action |
|---|---|
| Drag | Set the value; Shift for fine |
| Double-click | Type an exact value |
| Right-click | Reset, type, copy/paste the value, MIDI-learn, add or bypass modulation |
| Scroll | Nudge ±1 step; Shift finer |
Scroll-to-adjust ships off, under Settings → General → Parameter controls. On, it's excellent; on by default it means every attempt to scroll a crowded effects panel silently edits whatever was under the pointer. Your call, made once.
The pinned panel
Below the master bar is a panel that stays put regardless of scroll or drawer state, so live muscle memory holds. It splits into two columns:
- Left — Master / Layer tabs. Master holds the master modulation rack and master effect chain. Layer holds the selected layer's autopilot and layer effect chain, and doubles as a layer picker (its caret opens a dropdown of every layer). The active tab is remembered across selection changes.
- Right — clip context. Edits the selected cell — the one with the ring — showing animation parameters, video controls, the clip's effect chain, and any armed modulation. Animation cells also get a per-cell palette switcher.
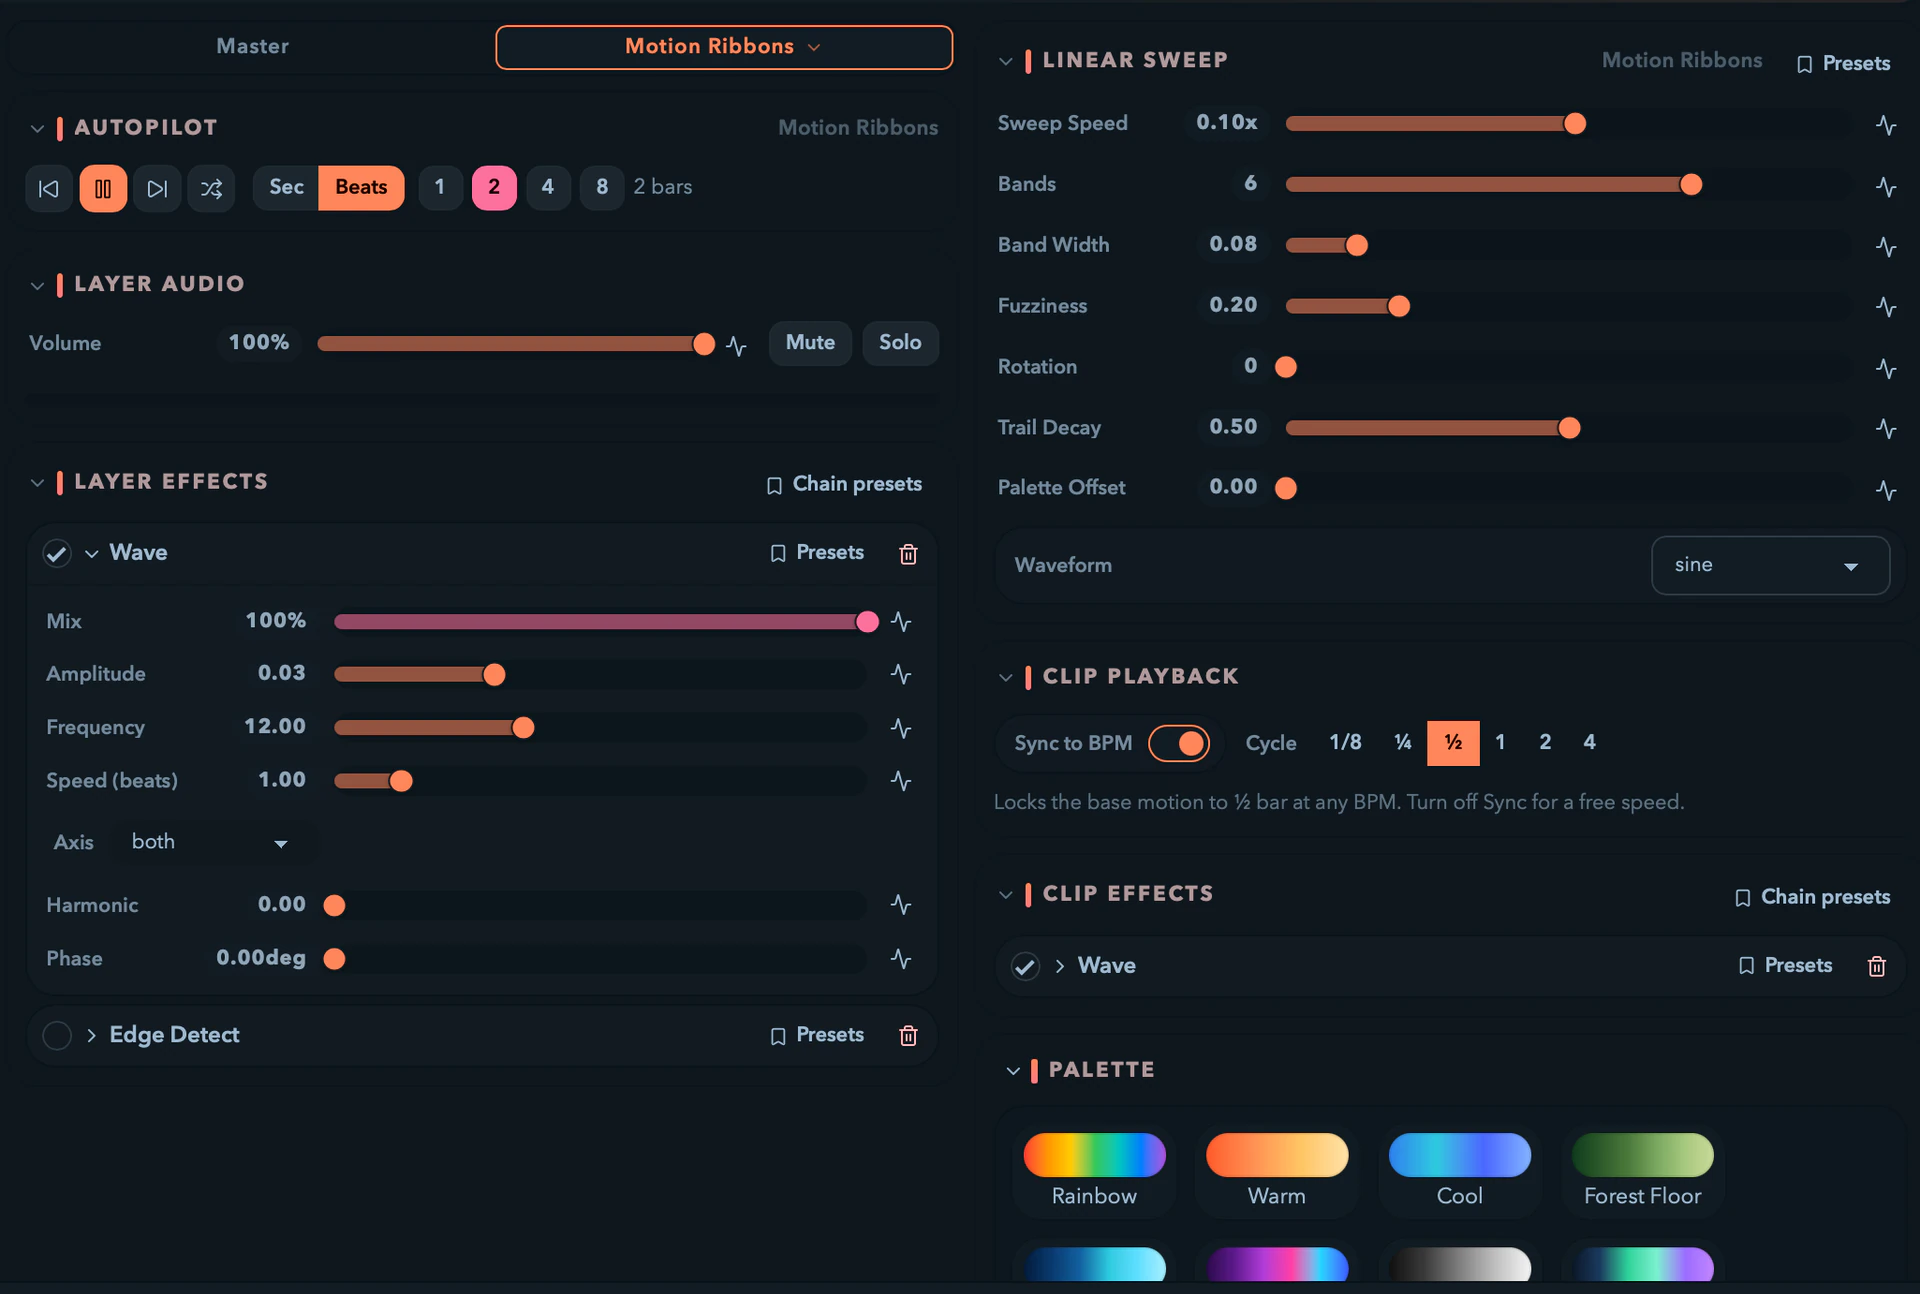
If you've picked a layer but no specific cell, the right column falls back to that layer's active cell. With nothing editable it shows a hint while still offering the cell's effect chain.
Edits are scoped to that one cell — other cells using the same animation keep their own settings.
Autopilot
Each layer has its own autopilot scheduler in the Layer tab of the pinned panel. It advances through that layer's non-empty cells in column order, skipping empties. Pick a mode:
| Mode | Behavior |
|---|---|
| Forward order | Left-to-right, wrapping at the rightmost cell. |
| Reverse order | Right-to-left. |
| Shuffle | Random among non-empty cells. |
| Off | Holds the active cell until you cue another by hand. |
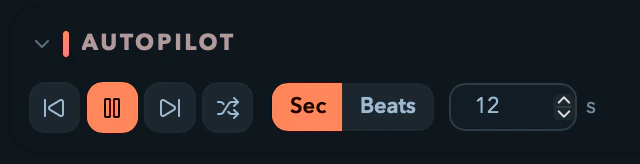
Timing is per layer. Sec sets a duration in seconds (any value above 0, default 10); Beats sets a beat duration that follows the transport BPM (presets of 1, 2, 4, or 8 bars). Different layers can advance at different rates, so a slow base wash and a fast accent layer cycle independently.
Autopilot skips external-source cells — see External Sources.
Workflow recipes
Different looks on different parts of the rig. Route Surface A → Solo: Layer 1 and Surface B → Solo: Layer 2 on the Output page. Drop an NDI feed into Layer 1 and an animation into Layer 2. Each Surface now carries its own layer, dimmable independently.
One blended look everywhere. Route every Surface to Composite. Hold a base wash on Layer 1, an Add sweep at 60% opacity on Layer 2, and a slow Multiply texture on Layer 3. The blended composite shows identically on every Surface.
A setlist with autopilot. Name your columns after cues (Intro, Verse, Chorus…), fill each layer's cells, set the base layer to Forward order with an 8-second duration, raise the master Xfade for smooth switches, and press play. Override any time by clicking a cell.
Animations & Palettes
Built-in and custom animations, parameters, and color palettes
Video Clips
Browse media folders and play video files in the grid
Master & Preview
The master bar controls, dashboard, and live previews
Video Outputs
Route the composite or a layer to monitors and projectors with projection-mapping warp
Video Outputs
Send the composite, a group, or a single layer to monitors, projectors, other apps, or a file — with per-slice warp, masking, and multi-projector edge blending.
Animations & Palettes
Browse Filament's built-in animation catalog, drop clips onto the grid, tune them live with presets and BPM-synced playback, and re-tint everything with color palettes.