Canvas & Drawing LED Layouts
Draw your LED installation on the canvas, then set how many LEDs ride each curve.
Patching LEDs by typing channel numbers into a table is a miserable way to spend an afternoon, and it produces rigs nobody can debug later. So don't. The canvas is a picture of your stage, and you draw your strips onto it where they physically run. Every curve generates DMX slices — one per LED — and the player drives those on your hardware.
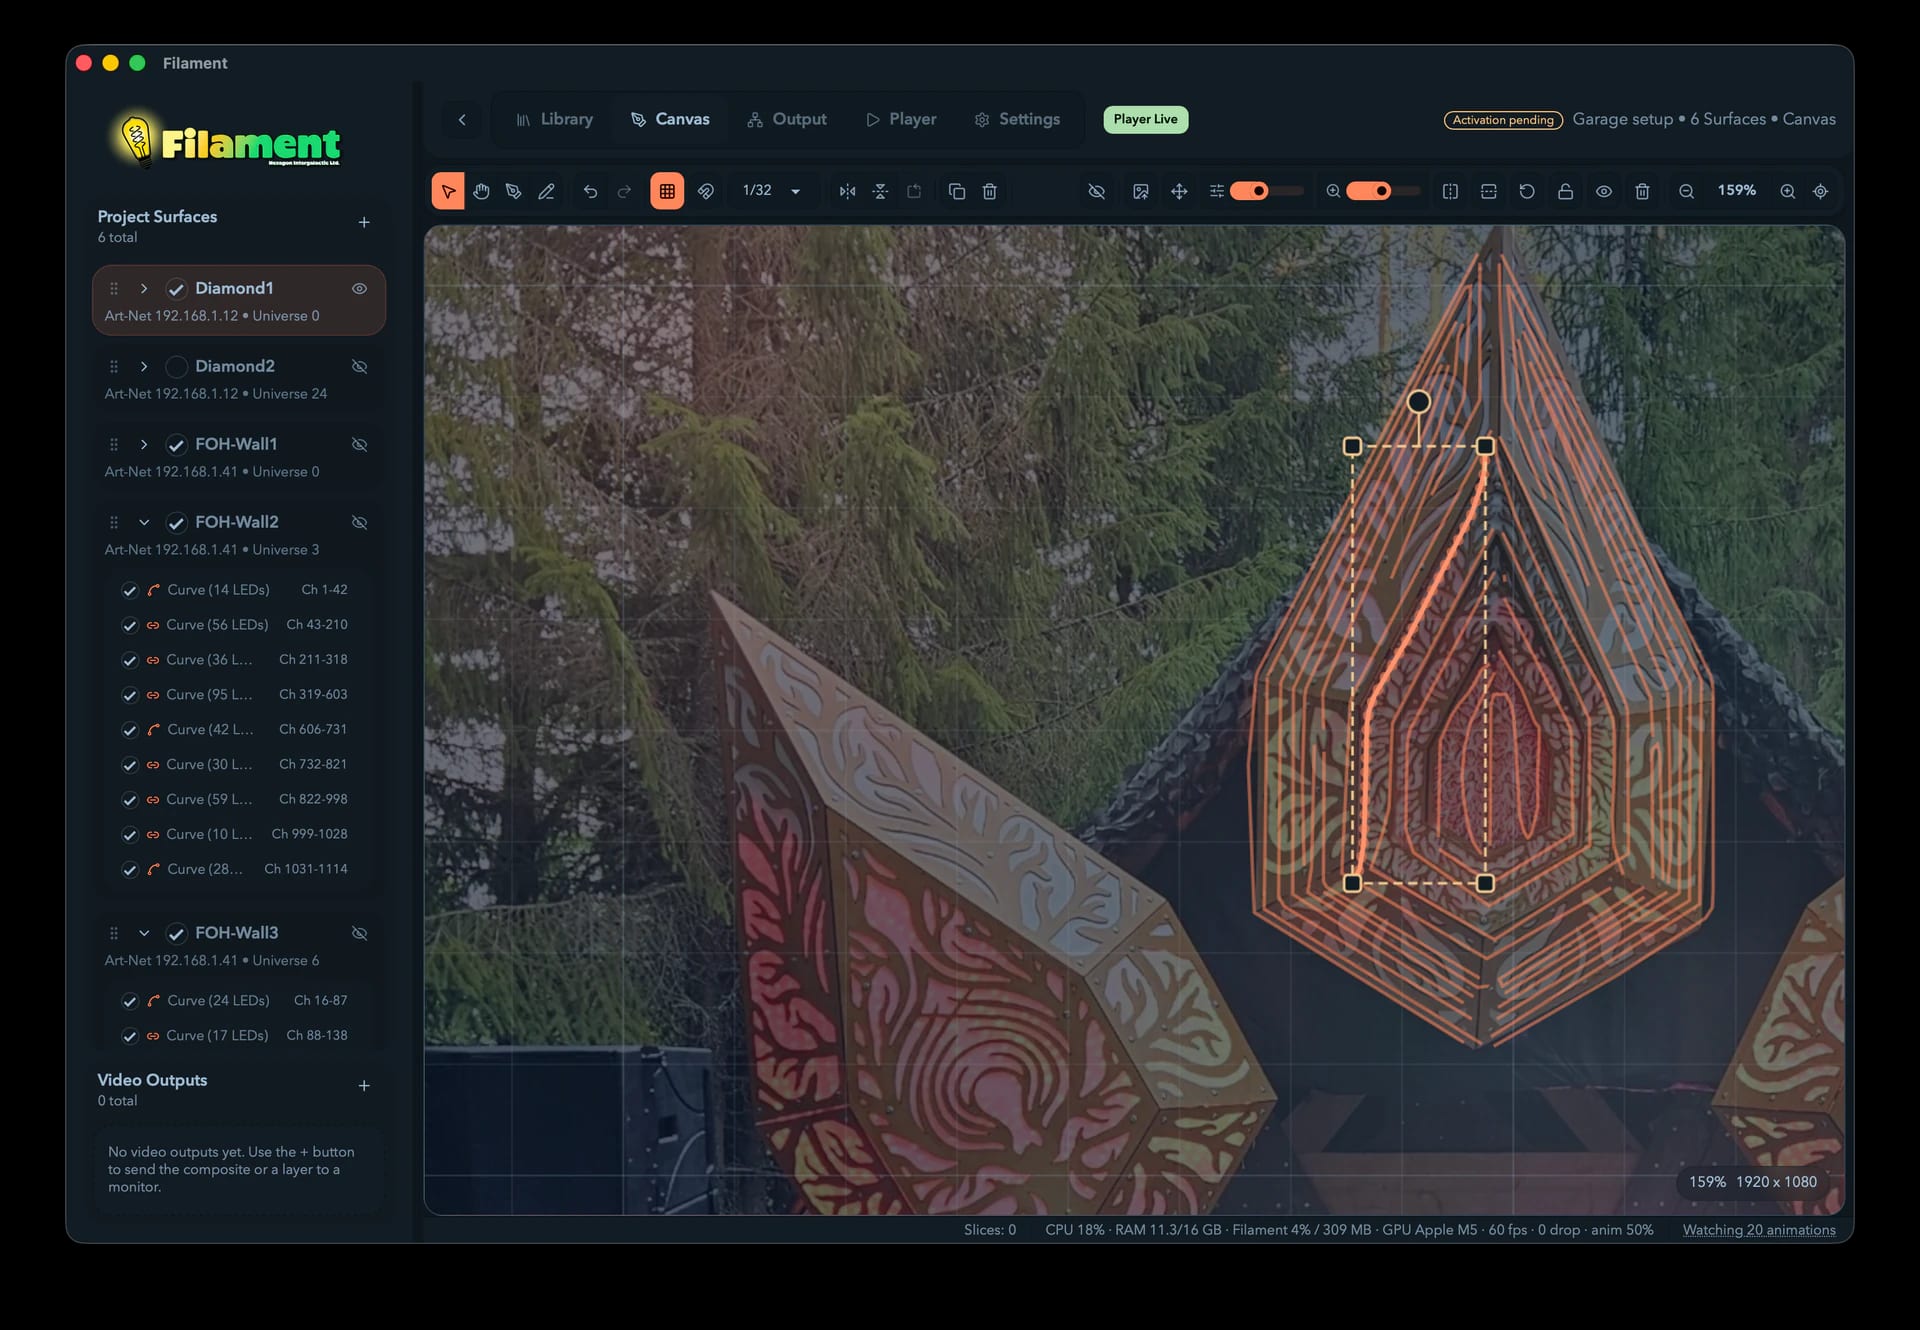
What the canvas represents
The canvas is a fixed coordinate space measured in virtual pixels — 1920 × 1080 by default. Think of it as a top-down or front-facing view of your installation. Each curve is sampled at every LED position, and the live color on each LED is read back from the player's GPU renderer (the Rust runtime — see Master & Preview). The canvas stores no color, only geometry and channel assignments.
When you finish a curve and set its LED count, Filament spaces the LEDs evenly along its arc length and builds the matching DMX slices automatically.
The tools
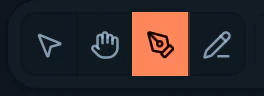
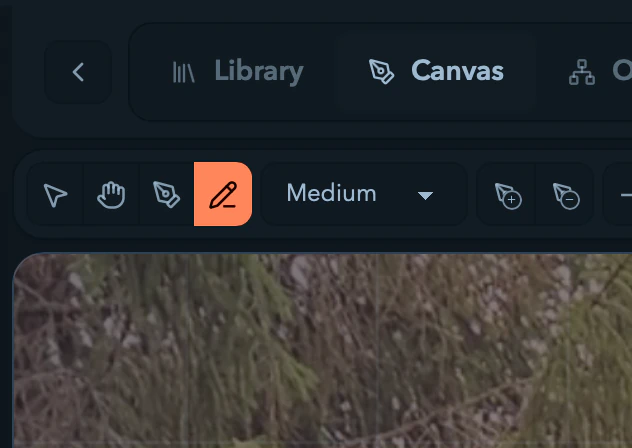
Four tools sit at the left of the toolbar. Each has a single-key shortcut, active when no text field is focused.
| Tool | Shortcut | What it does |
|---|---|---|
| Select | V | Click to select a curve or slice, marquee-drag to box-select, drag the handles to move, scale, or rotate. |
| Pan | H | Drag to move the view. Holding Space from any tool pans until you release. |
| Draw | P | The Bezier pen — place anchors and drag for handles to build a precise curve. |
| Freehand pen | B | Sketch a stroke; Filament smooths it into a Bezier curve. |
Selecting, transforming, aligning, duplicating, and copying geometry between Surfaces are covered on Selecting & Editing — as is the right-click menu, which is the shortest path to most of it. This page is about navigating and drawing.
Navigating the canvas
Zoom and pan
| Action | Result |
|---|---|
| Zoom-in / zoom-out buttons | Step the zoom (in ×1.25, out ×0.8) |
Cmd/Ctrl + = or Cmd/Ctrl + + | Zoom in |
Cmd/Ctrl + - | Zoom out |
Cmd/Ctrl + 0 (or reset-view button) | Fit and center the canvas |
Z | Frame the current selection — or fit everything, with nothing selected |
| Mouse wheel / two-finger scroll | Pan |
Trackpad pinch or Alt/Option + scroll | Zoom toward the cursor |
H then drag, or hold Space and drag | Pan |
Zoom runs from 10% to 1000%. The lower bound depends on your viewport — Filament won't let you shrink the canvas past where it stays comfortably framed, and it always keeps part of the canvas on screen so you can't lose it off the edge. The corner overlay shows the current zoom and the canvas size in pixels.

Grid and snapping
Two independent toggles in the grid group:
- Grid visibility (
Gor the grid button) — show or hide the alignment grid. On by default. - Snap to grid (the magnet button) — off by default. When on, points snap to the nearest grid intersection.
Set grid density with the divisions dropdown: 1/8, 1/16, 1/32, or 1/64 of the canvas (default 1/32). Major lines fall every quarter of the divisions and through the center; minor lines fill in between.

Snapping is helpful right up until it isn't, so hold Cmd/Ctrl mid-drag to suspend it for that one gesture. Same modifier on transform handles, on the LED point editor, and on the warp overlay — nothing tool-specific to remember.
Background reference image
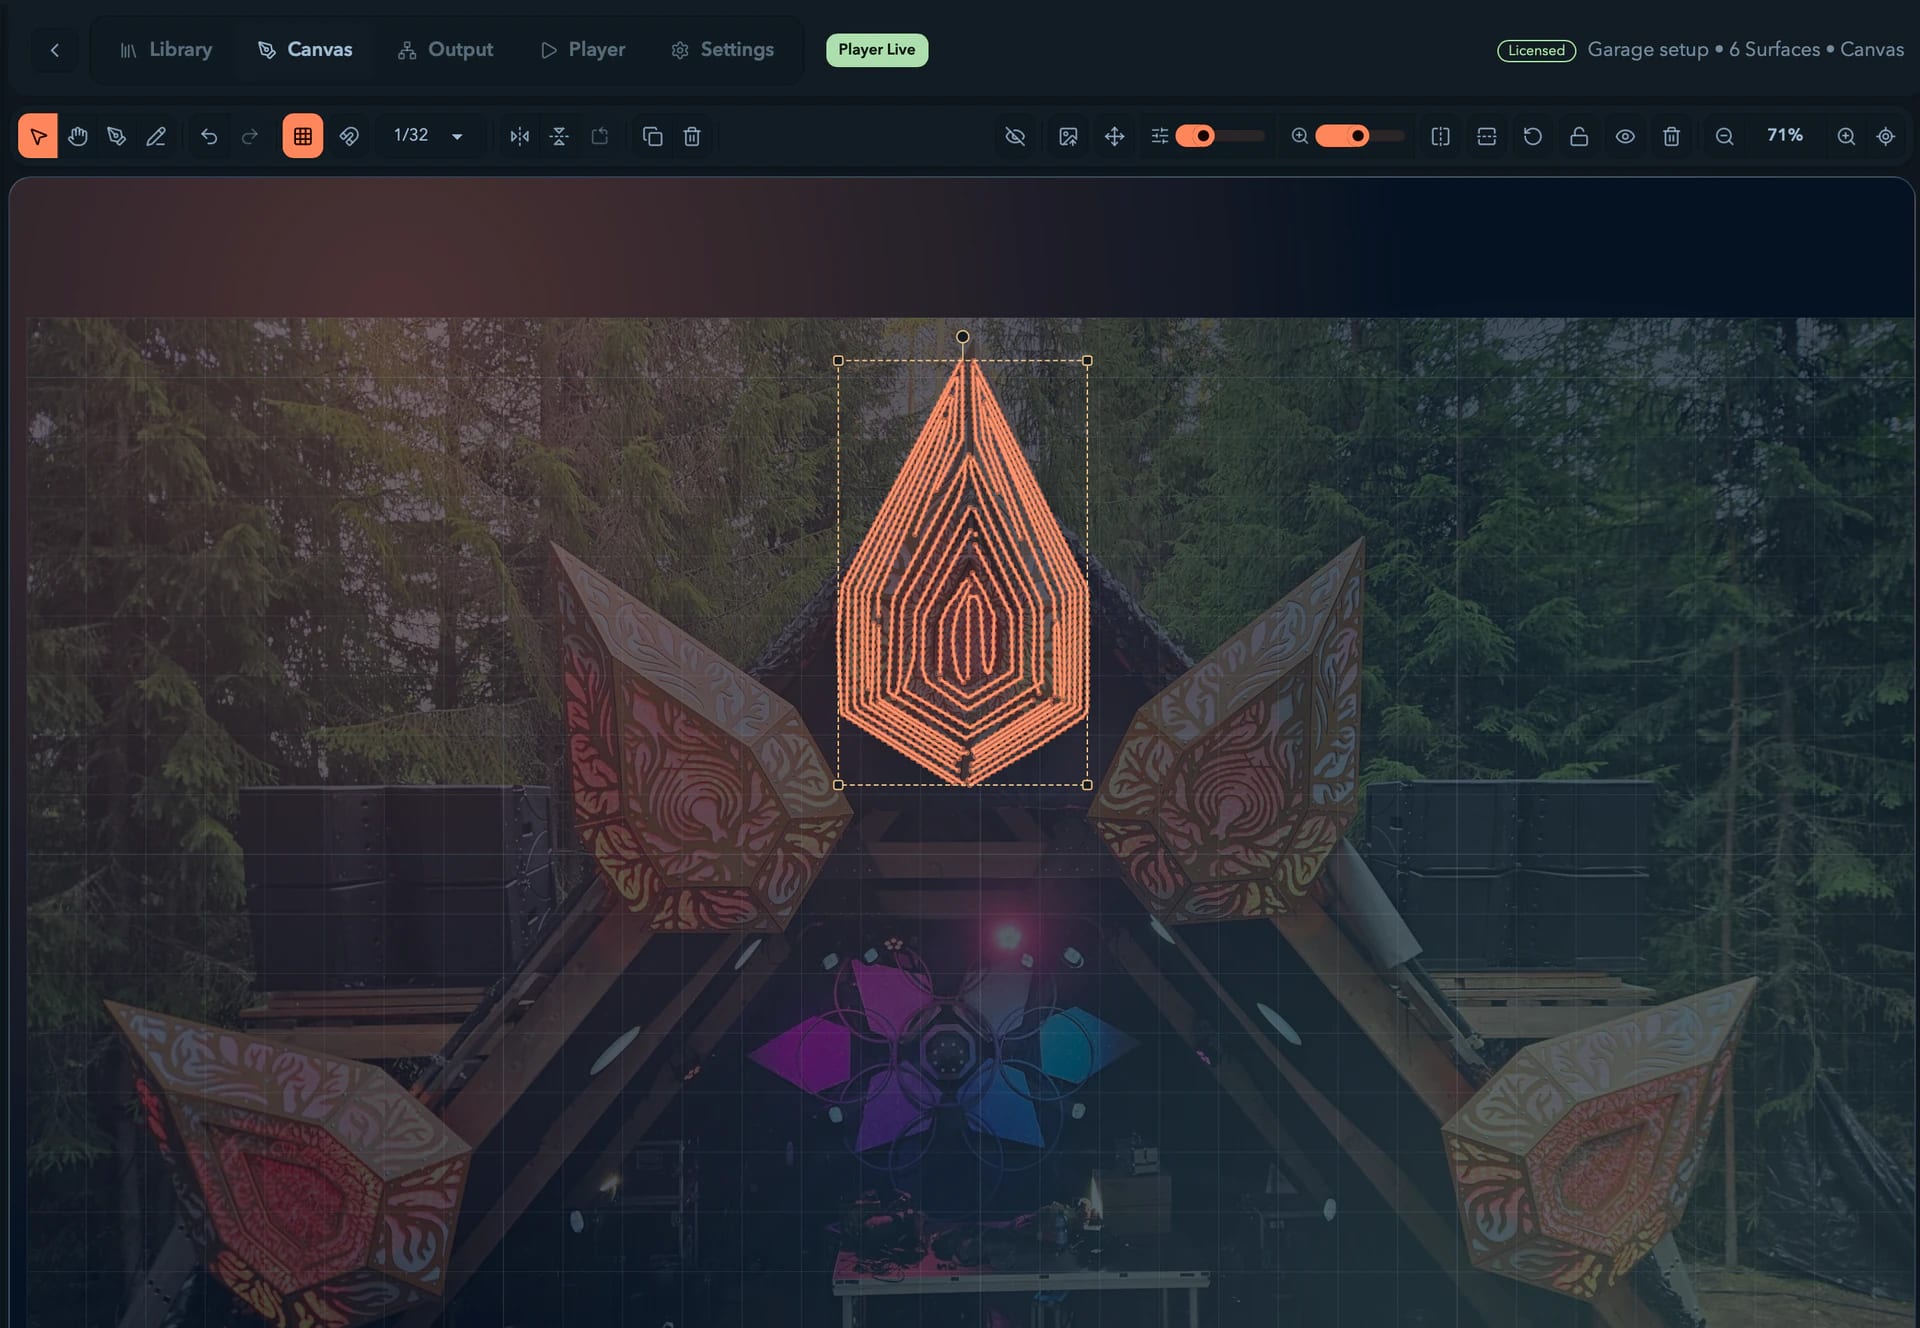
Tracing over a photo of your stage is one of the most useful things to do before you draw. The background controls sit at the right of the toolbar:
- Upload background image — PNG, JPEG, WebP, or GIF.
- Background opacity (0–100%) — dim the photo so your curves stay readable.
- Background scale (10–200%) — size the image against the canvas.
- Clear background image — removes it and resets the scale.

Live player backdrop
Separately from the static reference image, you can overlay the player's live composite — the same image the LEDs sample — behind your curves. Toggle it with the eye button (Enable/Disable backdrop graphics). It's a live tap from the runtime, so it only shows while the player is producing frames.
Drawing tools
Both drawing tools produce Bezier curves — smooth paths that follow the exact arc of your strip around corners and over irregular surfaces. When a drawing tool is active on an empty canvas, an on-canvas hint describes the next gesture.
Draw (the Bezier pen, P)
Use this for precise control over the curve's shape:
- Press
P. - Click to place an anchor with a straight connection to the previous one.
- Click and drag to place an anchor with curve handles — the drag sets the curvature.
- Keep clicking or dragging to extend the path.
- Double-click or press
Enterto finish and open the LED configuration dialog.
Handles you place while drawing are always symmetric — the drag sets the outgoing handle and mirrors an equal incoming one. To shape a curve asymmetrically, finish it, then drag its handles individually (below). Press Escape to discard an in-progress curve.
Closing a loop
With three or more anchors down, click within about 12 px of the first anchor and the curve finishes closed — a ring, a hoop, a pixel-taped circle around a column. The LED-count dialog previews the closed loop before you commit, so you can see the pixels wrap the seam rather than stopping short of it.
Double-click or Enter still finish an open curve, which is what you want for a run of tape with two ends.
Freehand pen (B)
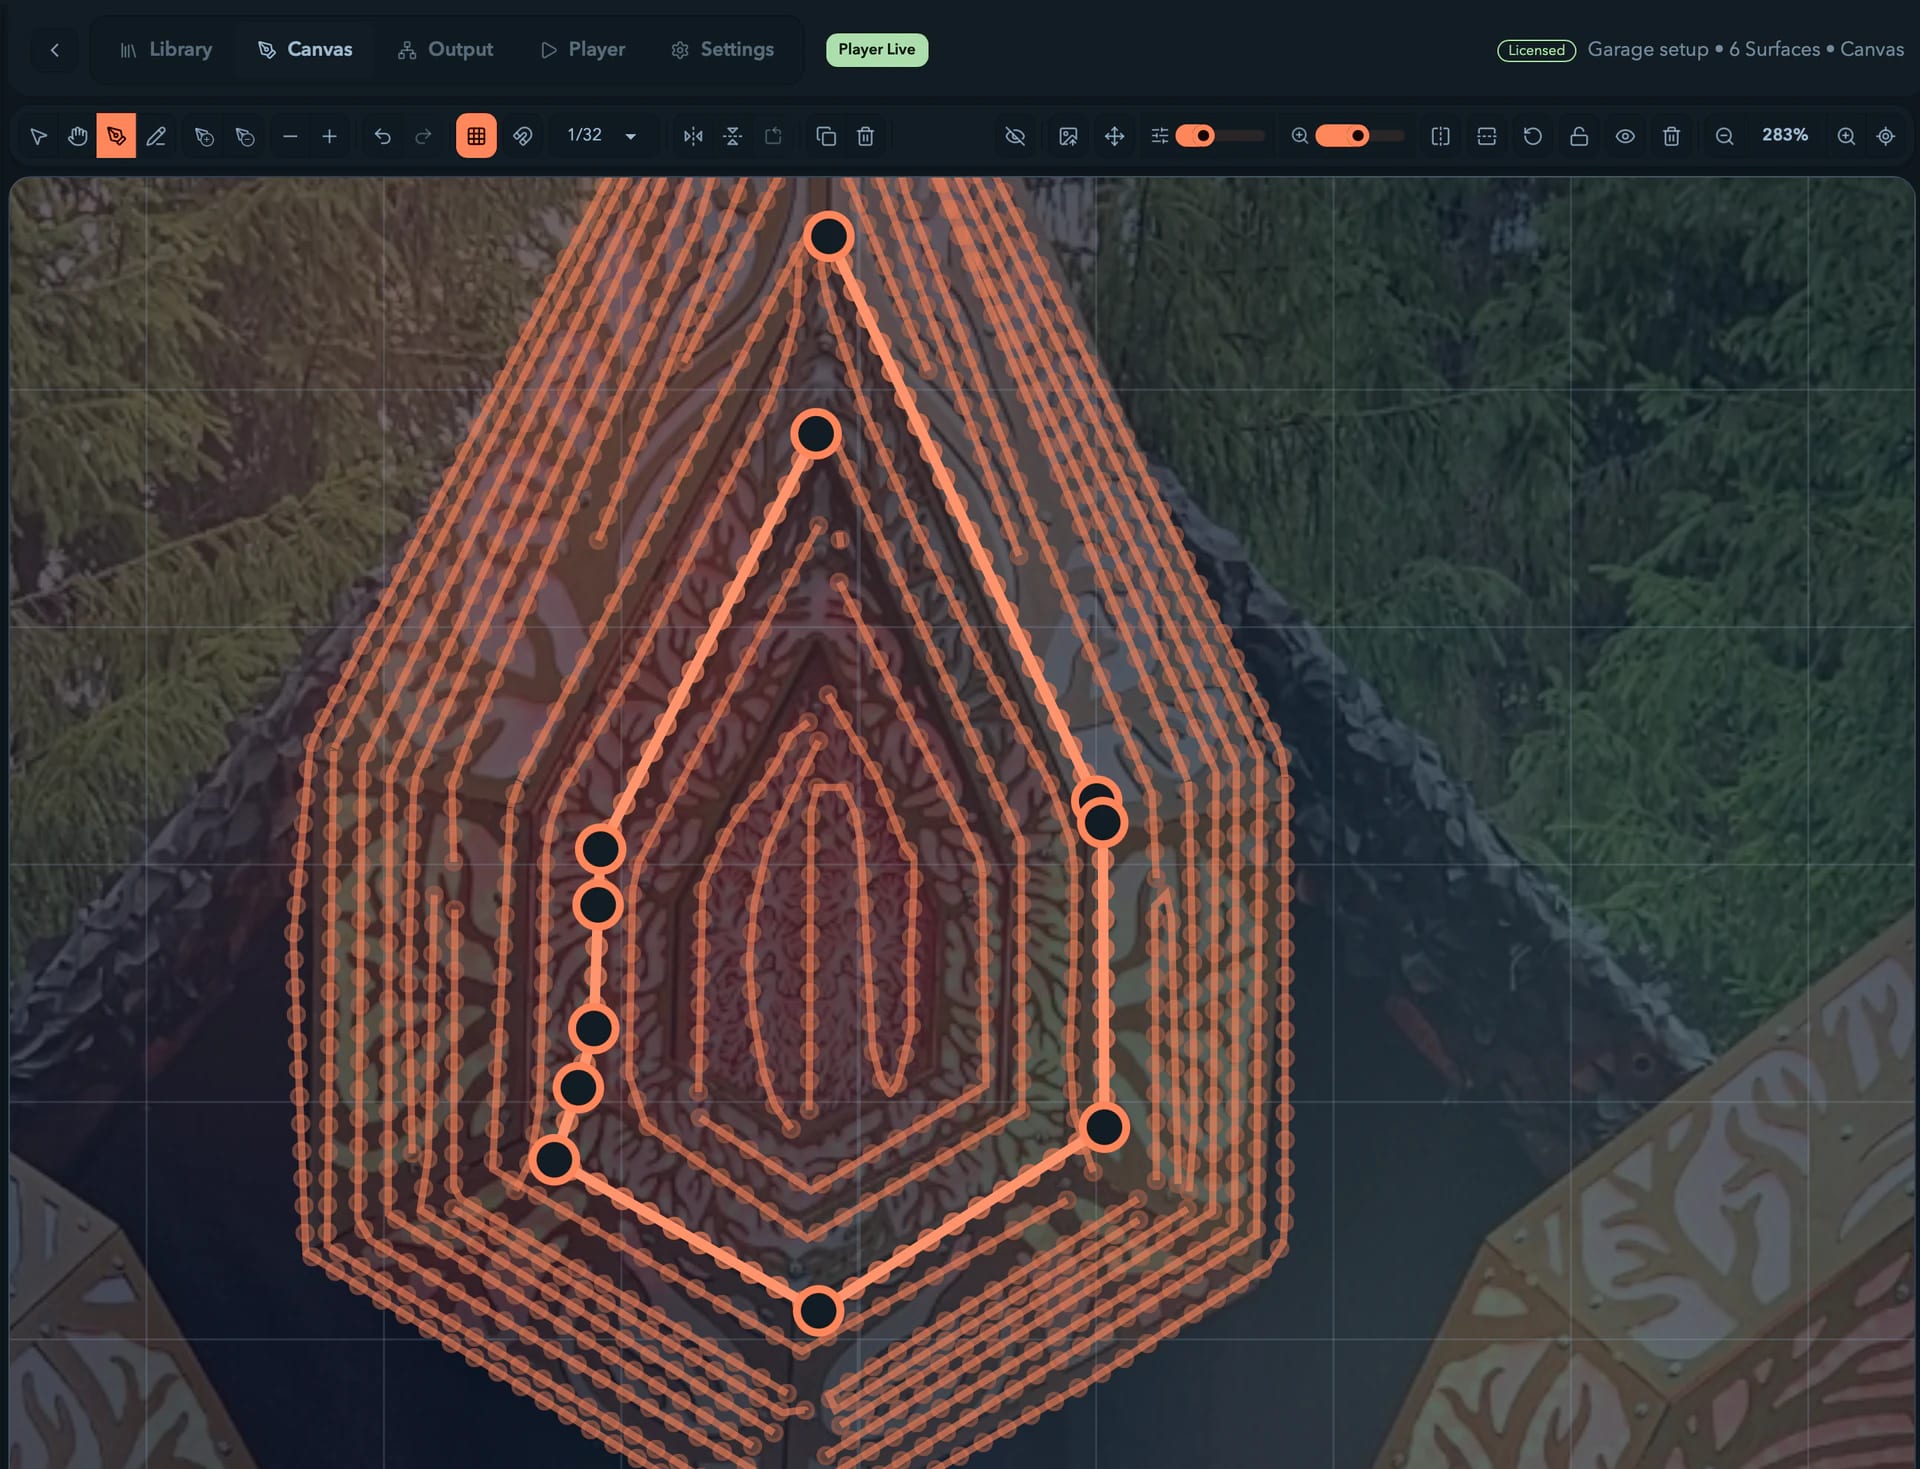
Use this to draw naturally, like sketching on paper. Press B, then click and drag across the canvas. Filament smooths the stroke into a Bezier curve on release and opens the LED configuration dialog.
Pick a smoothing level from the toolbar dropdown before you draw:
| Level | Result | Best for |
|---|---|---|
| Light | More anchors, more detail | Complex strips and tight bends |
| Medium | Balanced (default) | Most situations |
| Heavy | Fewest anchors, smoothest | Long, gentle arcs |
Smoothing runs several passes (averaging, Ramer-Douglas-Peucker simplification, and a downsample), so even a shaky stroke comes out clean.
Editing a curve's anchors
With the Draw or Freehand tool active and a curve selected, its anchors and handles appear. Drag an anchor to move it (its handles follow), or drag a handle endpoint to reshape the curve there.
Handles behave the way LED work wants them to — smooth unless you say otherwise:
- On a smooth anchor, a plain handle drag keeps the symmetry: the opposite handle mirrors it. Hold
Altto break that and move only the handle under your cursor. - On a cusp anchor the handles are already independent, so
Altchanges nothing. Alt-click an anchor without dragging to flip it between smooth and cusp.
The anchor tools in the edit toolbar adjust the selected curve:
- Simplify — resamples to about 70% of the current anchor count, evenly spaced. Available whenever a curve is selected.
- Add anchors — subdivides every segment, inserting a midpoint anchor. Available whenever a curve is selected.
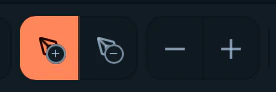
- Add single anchor (
+) and Remove single anchor (−) — only available with the Draw or Freehand tool active and a curve selected. Arm a mode, click the curve to add or remove one anchor, then press the key again to return to move mode.
The LED configuration dialog
Finishing a curve opens Configure LED Curve. (Double-clicking an existing curve, or selecting it and pressing Enter, reopens it as Edit Curve.) This is where the physical and digital worlds connect.
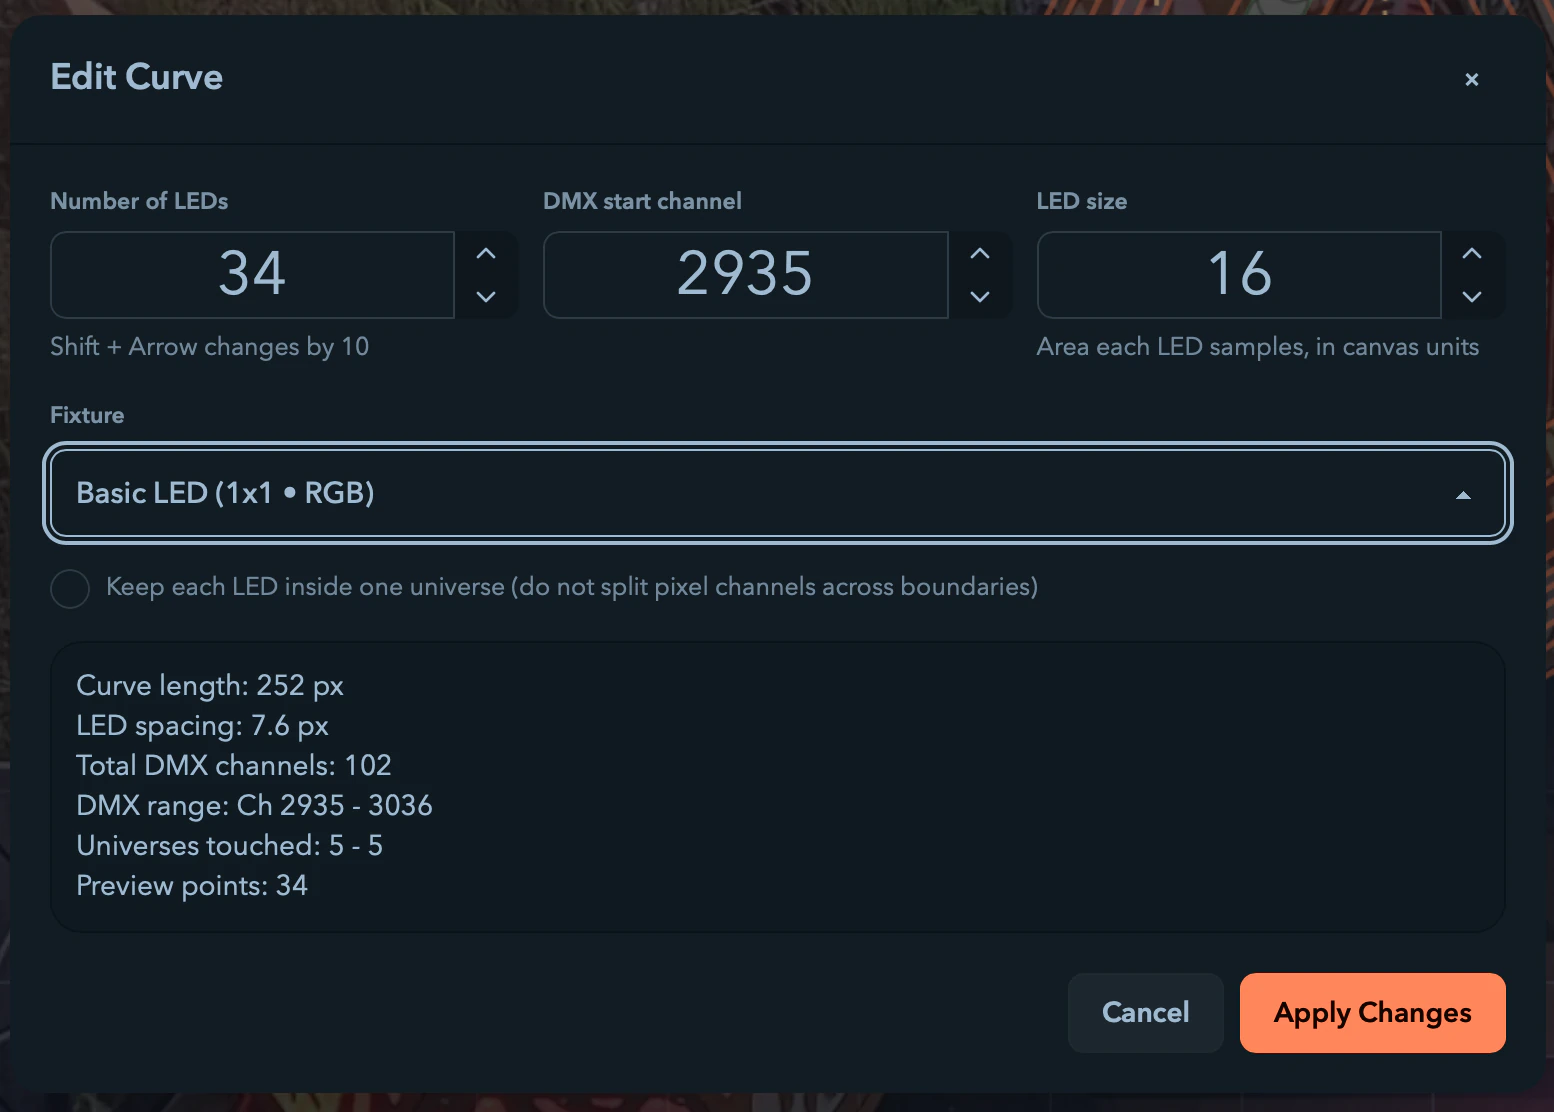
- Number of LEDs — how many physical LEDs are on the strip. Accepts
1–200000, default10;Shift+ arrow steps by 10. Filament spaces them evenly along the arc. - Fixture — the definition matching your LED type, which sets the channels per LED (
width × height × 3). Default is Single RGB LED (1x1). Your library fixtures appear in the dropdown by pixel dimensions; if yours is missing, add it first in the Library. - DMX start channel — where the strip begins (minimum
1). You can re-pack and re-route later from the Output tab.
As you type, the dialog recalculates a live summary: curve length, LED spacing, total DMX channels, DMX range, universes touched, and preview-point count (capped at 2000; the dialog notes when it's showing only the first 2000). Confirm with Create N LED(s) for a new curve, or Apply Changes when editing.
Keeping LEDs inside a universe
A DMX universe holds 512 channels. Long strips often cross a universe boundary mid-pixel, which some controllers dislike. Turn on Keep each LED inside one universe and Filament pushes any pixel that would straddle the boundary to the start of the next universe, keeping all of that pixel's channels together.
With the option on, a Boundary shift (channels) field appears (−512 to 512). The shift is added only when a pixel is bumped: positive values leave a gap after the boundary, negative values pull the start back.
Preview LEDs
While the dialog is open, Filament draws preview slices on the canvas so you can see where each LED lands before committing; they update live as you change the count or fixture. Single-LED fixtures render as a bordered square with a center dot, multi-pixel fixtures as a dot matrix. Once the curve exists, the slices show their live colors from the player.
After creating curves
With your curves on the canvas, head to the Output tab to assign channels and route to hardware. To reshape, move, duplicate, or delete, see Selecting & Editing.
Surfaces & Fixtures
Manage fixture definitions, build a reusable Surface library, and import saved Resolume Advanced Output configurations.
Selecting, Editing & Transforming
Select curves and LED slices, transform them with on-canvas handles, align and distribute, copy geometry between Surfaces, and drive the project sidebar from the keyboard.