Master & Preview
The master bar and the four live preview surfaces — transport, global controls, the master modulation rack and effects chain, the dashboard, and previews that match your LEDs exactly.
The master bar runs along the bottom of the Player — your transport and the global controls you reach for between cues. Beside it sits a column of previews: live, GPU-driven views of exactly what your LEDs are getting, at the composition, layer, and clip level.

Transport
| Control | Shortcut | What it does |
|---|---|---|
| Play / Pause | Space | Start or stop sending live output. |
| Blackout | B | Instantly cut all LEDs to black. The show keeps running underneath; press again to restore. |
Both are great MIDI triggers — and both map from the same place.
Master controls
A row of knobs shapes the whole output, whatever's playing:
| Knob | Range | What it scales |
|---|---|---|
| Output | 0–100% | Global brightness — the master dimmer for every Surface. |
| Speed | 0.1–3.0× | Procedural animation and effect motion. |
| Xfade | 0–5000 ms | The fade time used when a source switches, so cues blend instead of cutting. |
The tempo cluster — BPM, tap-tempo, resync, and the external sync selector — lives here too; see Tempo & Sync. Any master knob can be modulated or MIDI-mapped; a driven knob carries a small dot, and since the bar has no room for an envelope editor, you author the curve in the Master modulation rack below.
These knobs answer to the same gestures as every other control: drag (Shift for fine), double-click to type an exact value, right-click to reset — Output back to 1.0, Speed to 1.0, Xfade to its default — plus the full parameter menu. Being able to put Speed back on exactly 1.0× after riding it, without hunting for the detent, is worth more than it sounds.
Beside Blackout in Session view sits a Stop all square: it crossfades every layer out, leaves blackout alone, and writes no undo entry. Double-tapping Esc does the same. It's MIDI-mappable, so it can live on a pad.
The favorite-control dashboard
Drag any control's label onto the master bar to pin it to the dashboard strip for quick reach during a show — a layer's opacity, a key effect parameter, whatever you ride most. Dashboard items can be modulated or MIDI-mapped like anything else; double-click a label to rename it.

Audio monitor
The bar shows a live audio input monitor and a Gain knob (0–4×, default 1.0×, stored per machine) feeding audio reactivity. Gain scales both the monitor and every audio mapping's band energy in real time, so quiet sources still reach your range. Drag a band from the monitor under a parameter to map it, and set the input device in Settings → Audio.
Master & Layer tabs
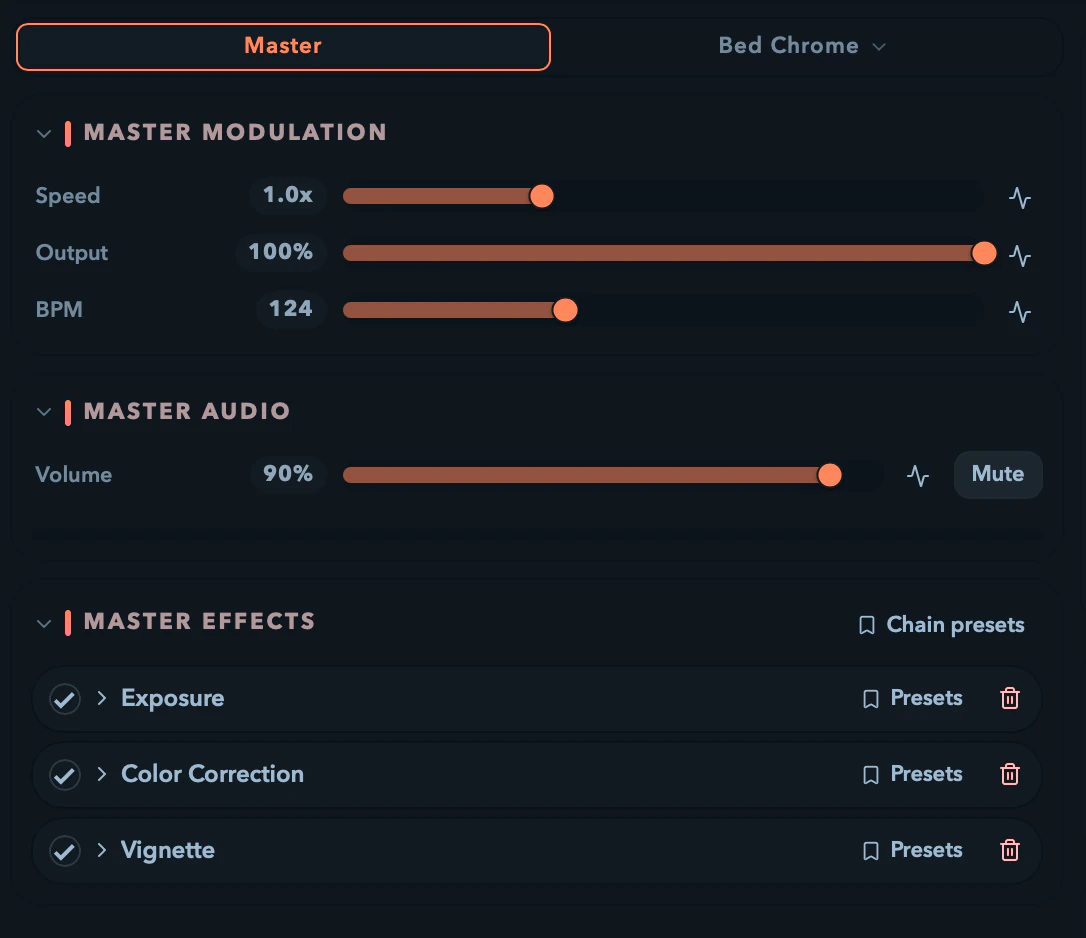
Below the previews, a Master / Layer tab column holds the global rack on one side and the selected layer's controls on the other (the active tab is remembered between selections):
- Master — the Master modulation rack (the modulatable master scalars
Speed,Output, andBPM, each with room for its envelope curve) and the Master effects chain. - Layer — the tab label doubles as a layer picker, dropping down to every layer; it holds the selected layer's autopilot and its effect chain.
The Master effects editor is the same chain editor used for clips and layers, scoped to the global master chain — drag effects in from the Effects tab, reorder them, set each one's Mix, and tweak parameters inline. See Effects.
The live previews
A scrollable column to the left of the clip parameters holds the preview surfaces, each a live tap of the authoritative Rust renderer:
| Surface | Header title | Shows | Opened from |
|---|---|---|---|
| Composition | Composition | The full project output, post-master-effects | Window → Composition Preview (open by default) |
| Clip / Layer audition | Clip / Layer | The selected clip or layer in isolation | Window → Clip / Layer Preview |
| Per-layer | Layer | One layer's contribution, post-layer | The eye toggle in a layer's row header, or Window → Layer Previews |
| Per-group | The group's name | A group's isolated composite — its members over black, through the group's effect chain | The eye toggle on a group's header band |
| Pop-out | — | Any of the above in a detached OS window | The pop-out button in any preview header |
Each in-page surface has a title bar, a pop-out button, a close button, and a corner handle that resizes it (width only — height stays locked to the project aspect, and the size is remembered). Closing one doesn't lose it; reopen it from the Window menu.
Composition
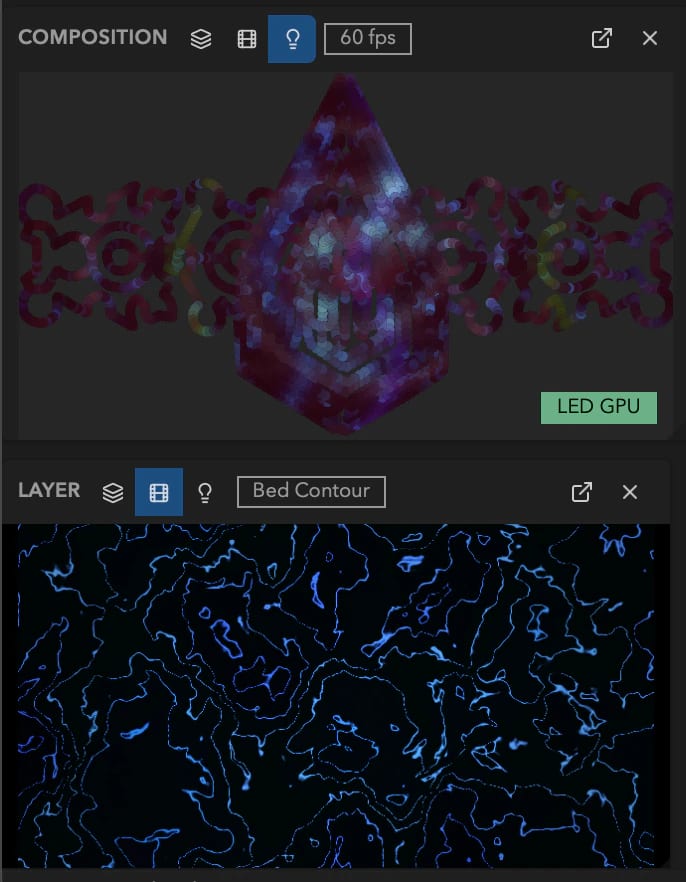
The Composition surface shows the whole project after master effects — what your LEDs read at the canvas level. Its header carries a Both / Video / LEDs display switch:
| Mode | Label | Shows |
|---|---|---|
| Both | Both | The composition video with the LED overlay on top (default) |
| Video | Video | The composition video only |
| LEDs | LEDs | The LED overlay only, on a fixed dark-gray backdrop so black LEDs stay visible |
plus an FPS readout and a Blackout badge. When the LED overlay is drawn, a corner badge reports how it's being sampled: LED GPU on the normal path, or LED Fallback (…) when a specific GPU fallback is in effect — the reason is named in the badge and repeated on hover.

Clip / Layer audition
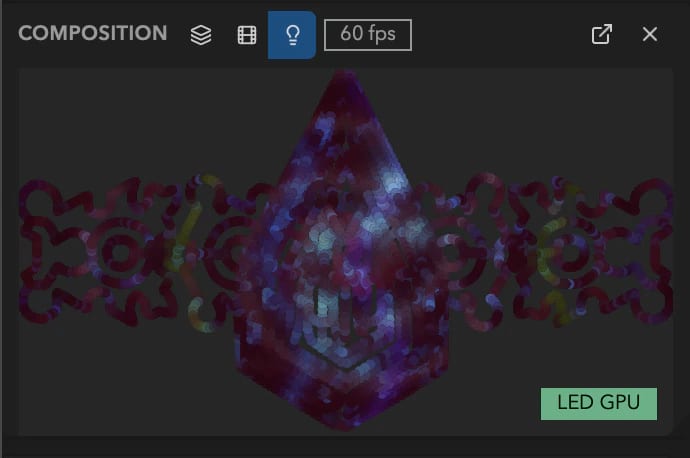
The Clip / Layer surface renders the current selection on its own, outside the live layer pipeline — a Resolume-style audition pane, so you can tweak a clip and watch it before firing it into the layer. It resolves the selection in priority order (selected clip → selected empty cell → selected layer → nothing), reads Select a clip or layer when there's nothing to show, and tags what it's previewing with a small Clip / Video / External / Layer badge.
Per-layer
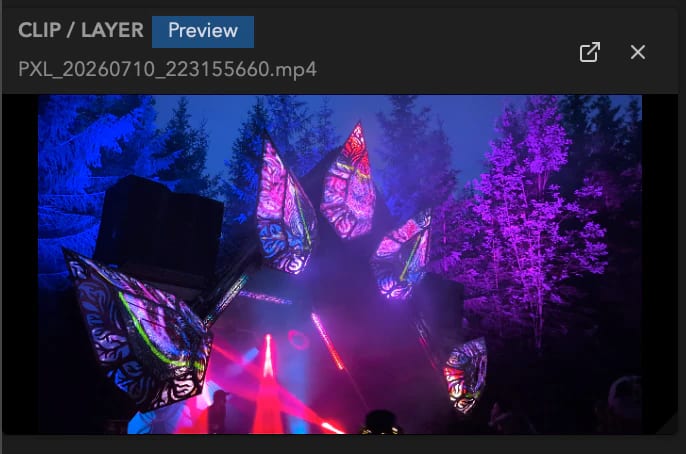
A per-layer surface shows one layer's contribution after its opacity, blend, and effects but before the composite and master stage, so you can audit each layer alone. Toggle one from the eye button in a layer's row header, or Window → Layer Previews; multiple can be open at once, each resizing independently. A layer with no active clip reads No active clip.
Per-group
A per-group surface does the same job one level up: the group's members composited over black and run through the group's own effect chain, before it folds into the composition. Toggle it from the eye button on the group's header band. It carries the same Both / Video / LEDs switch as the composition, overlaying the LEDs of the Surfaces routed to that group — which is how you check that the group feeding stage-left actually looks like what you think stage-left is doing.
Pop-out
Any in-page preview can pop out into its own detached OS window from the button in its header. The in-page surface hides while it's detached and returns when you close the window; a detached preview tracks unsaved canvas edits live, and the clip/layer window follows your grid selection. If the webview can't open a window, the in-page preview comes back automatically.
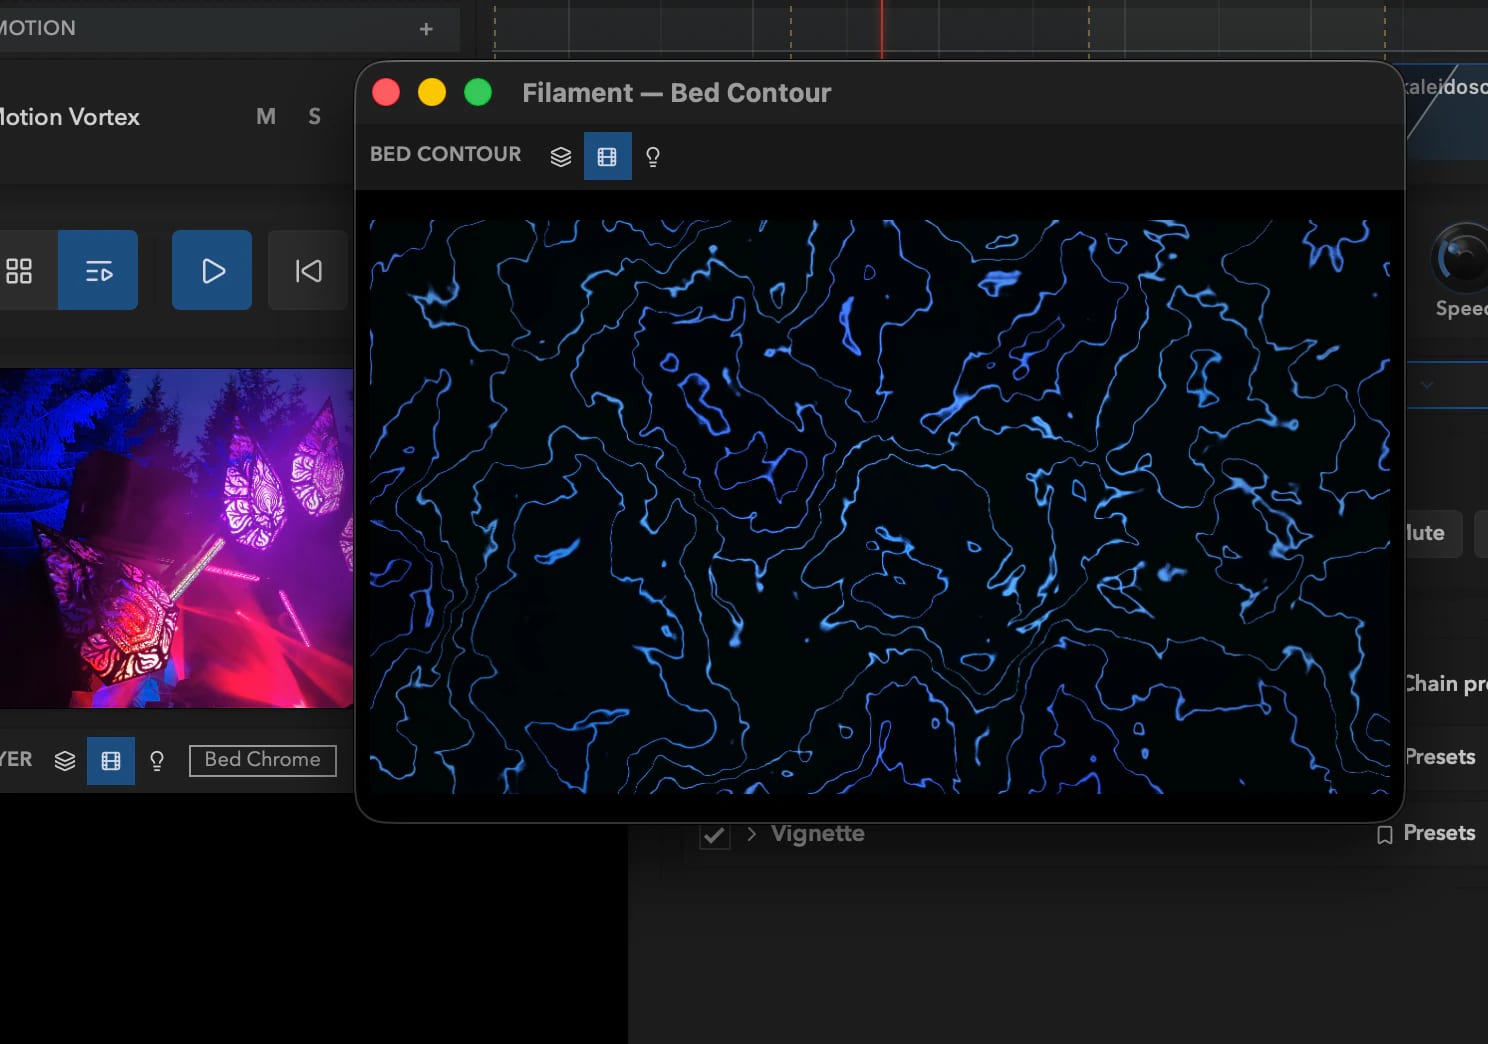
Previews never lie
Every preview is fed from the same engine that drives your LEDs — the runtime downsamples its render texture, reads it back, and ships those exact pixels to the preview, which just blits them. No separate approximate render, no reinterpretation. So when you're tuning a look against fixtures you can't see from the booth, the preview is trustworthy ground truth. (The one exception: per-LED Surface brightness has no flat-image equivalent and isn't baked in.)
Previews only need a 2D canvas, not WebGPU — if the webview reports no WebGPU, Filament shows a one-time soft warning and keeps running, since the backend GPU does the rendering. The real GPU requirement is enforced separately at launch; see GPU & system requirements.
Tempo & Sync
Set the beat by hand or follow an external clock — Ableton Link, Pro DJ Link, or MIDI Clock — so beat-synced animations, effects, and envelopes land on the music.
The Timeline
The Timeline is the Player's Arrangement view — a DAW-style workspace where you lay clips, video, and audio on tracks over time and play a composed show back frame-exact, every run.