Automation
Draw automation curves in track lanes, record live knob moves, run LFOs, and travel per-clip envelopes with the clip — FL-style, on almost any parameter.
In the grid you ride knobs by hand and every show is a re-performance. On the Timeline, parameter changes are part of the composition: you draw them, record them once, or generate them with an LFO, and they play back exactly the same every run. Filament gives you two shapes for this.
| Shape | Lives | Drives | Time |
|---|---|---|---|
| Automation lane | Under a track, or on the master track | Layer and master controls, and their effect parameters | Absolute timeline seconds |
| Per-clip envelope | Inside a clip, and travels with it | That clip's own content and effect parameters | The clip's own 0–100% |
Both use the same easing vocabulary and point editor you already know from envelopes and modulation.
Automation lanes
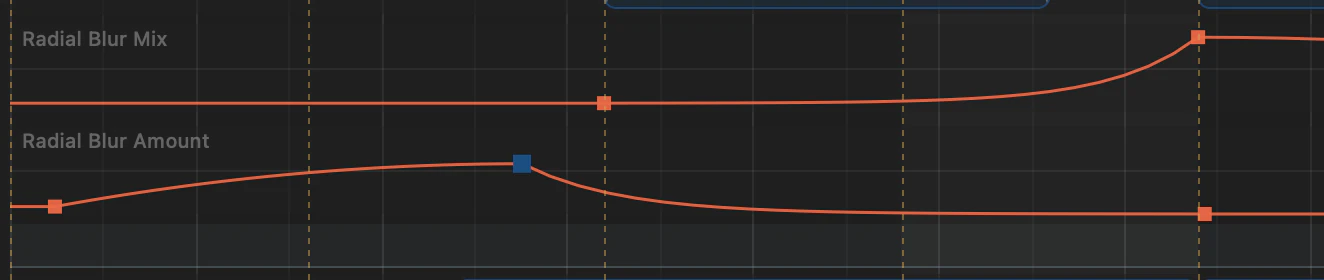
A lane is a collapsible row under a track holding a curve for one target. The master track at the top of the arrangement carries lanes for master controls; each visual track carries lanes for its layer.
Adding a lane
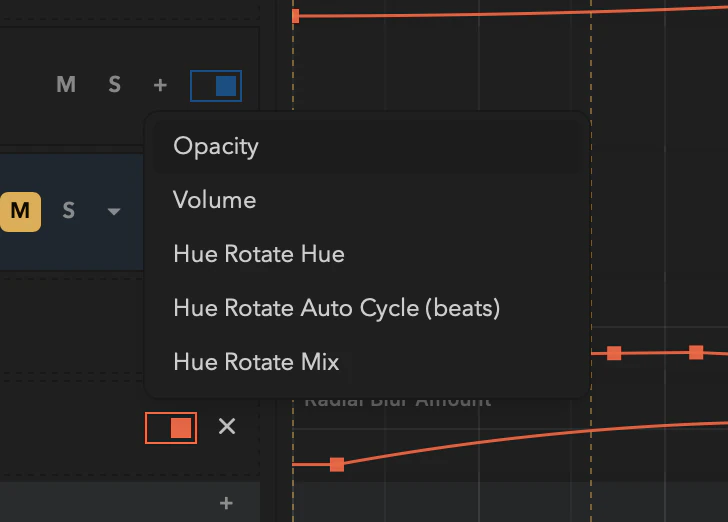
Click the + on a track header and pick a target, right-click the header and choose from its Add automation lane list, or drag a parameter's label straight onto the track (the same label-drag you use to build the master dashboard). Valid targets:
- Layer — opacity and volume, plus any parameter or dry/wet mix on the layer's effect chain.
- Master — brightness, master volume, and any master effect parameter or mix.
There's one lane per target per track — you can't accidentally create two curves fighting over the same value.
Editing points
Curve editing is FL-style, right on the lane:
- Click empty curve to add a point; drag to move it (snapping applies on the time axis).
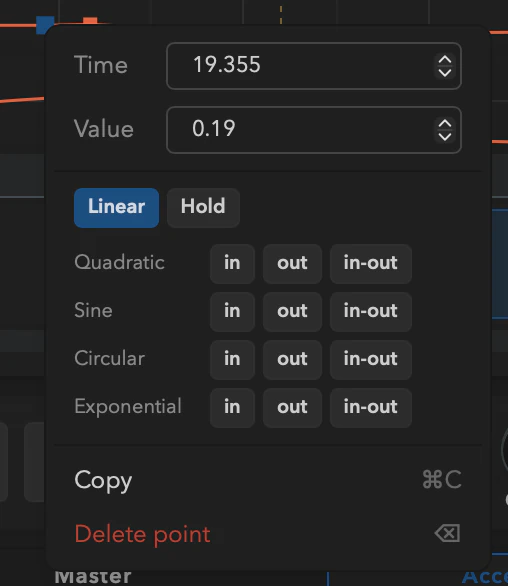
Alt-click a point to delete it; select points and pressDelete/Backspaceto remove them.- Click a segment and retype its shape from the easing toolbar — the same easings the envelope editor offers.
- Double-click a point for exact numeric time and value entry.
- Box-select points and drag them as a rigid group.
Drawing a curve freehand
Cmd-drag across an empty lane and just draw the shape you want. Filament samples the gesture, thins it down to a manageable set of points, and merges it into whatever was already in the lane. It's the pencil tool — faster than placing points when you know the shape by feel and don't care about the exact numbers.
Editing points from the keyboard
With lane points selected:
| Key | Action |
|---|---|
← / → | Nudge time (Shift = fine) |
↑ / ↓ | Nudge value (Shift = fine) |
Cmd+A | Select every point in the lane |
Cmd+C / Cmd+V | Copy points, paste at the playhead |
Delete / Backspace | Remove them |
Nudging a value with ↑ / ↓ beats dragging when you want a curve slightly higher without disturbing its timing.
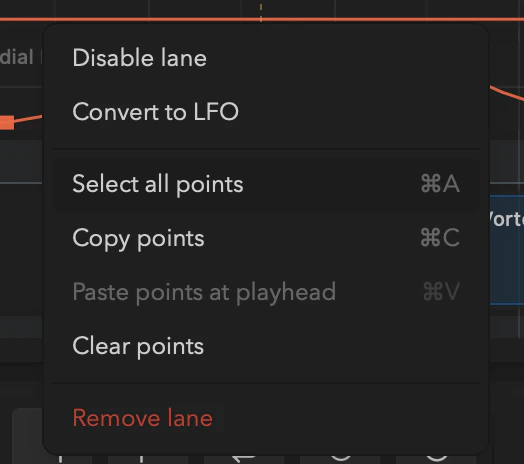
Right-click a lane for Select all points, Copy points, and Paste points at playhead; right-click a single point for Copy and Delete point.
The lane header has enable / disable / delete, and you can collapse a track's lanes to get them out of the way — collapsing is a view convenience and never touches undo.
Value vs. rate targets
Most targets take any easing you like. A few targets drive an animation's rate — how fast its motion runs — and those accept linear and hold segments only (eased options are hidden for them). This keeps rate automation mathematically exact, so a show that speeds an animation up over ten minutes lands on the same frame whether you play to it or seek to it.
Reading automated values live
When a lane drives a control, its inspector fader shows the live automated value and wears a Lane badge — the same way a modulated fader does. Turning that knob while you're not recording won't stick: the lane re-asserts on the next frame, and the badge tells you why. To change it, edit the lane or record over it.
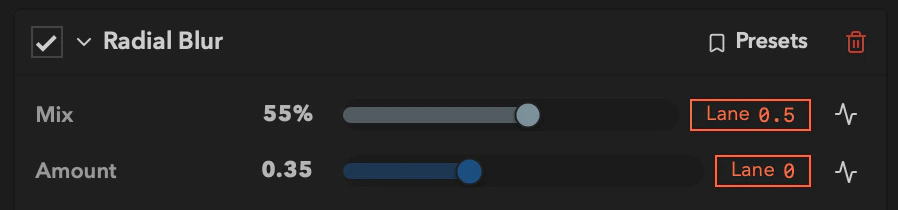
Precedence is one rule: a lane owns its target. Everything without a lane keeps its normal behavior — manual value, MIDI, grid modulation, audio reactivity. So you can automate the parts of a show that must be exact and still leave, say, master brightness reacting to sound where you want the room to breathe.
Recording automation live
Rather than draw a curve, you can perform it:
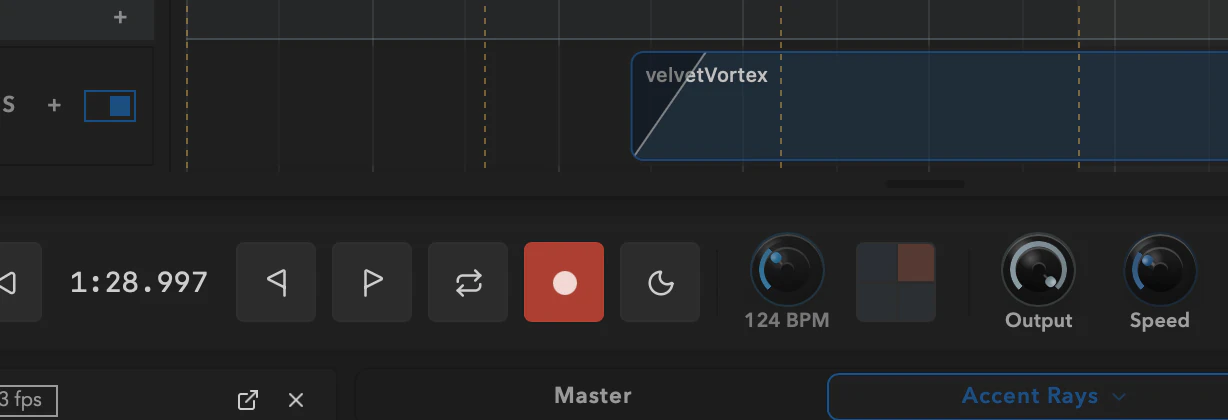
- Arm the record button in the transport cluster.
- Play the arrangement.
- Touch any automatable control — a fader, an effect knob, even a mapped MIDI control. Filament captures your moves against the playhead.
- Release. The pass is thinned into a light, hand-editable curve and merged into the target's lane as one undo step.
Recording is touch mode: your moves replace the curve only for the span you were holding, and the prior curve resumes where you let go (bridged over a short ramp so it doesn't jump). Record a wiggle over the chorus and the verses on either side stay exactly as they were.
LFO lanes
A lane can be a generator instead of a hand-drawn curve — a repeating wave that needs no points:
- Waves: sine, triangle, saw, square, and sample-and-hold noise.
- Rate: free-running in Hz, or synced to the beat as a musical period.
- Shape:
depth,center, and a phase offset in the target's own units.
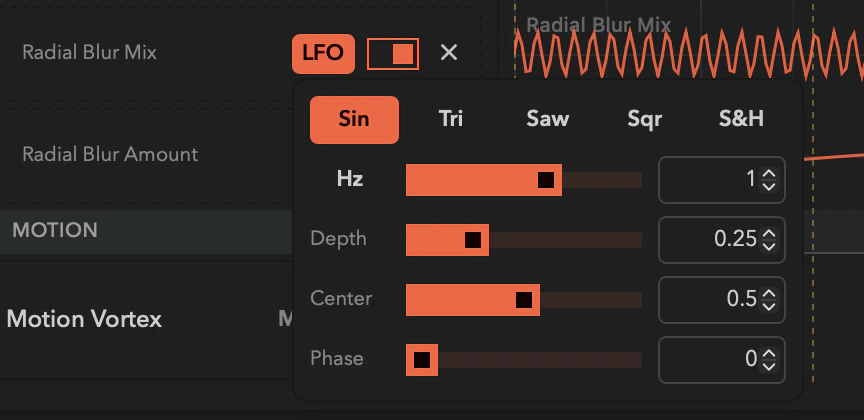
Open a lane's LFO panel from its header to dial it in, or use the lane's context menu to Convert to LFO and back. LFOs are evaluated closed-form like everything else, so they're perfectly repeatable across seeks, loops, and export — and Convert LFO to points bakes the wave into an editable curve when you want to tweak a single cycle. LFO lanes drive value targets.
Per-clip envelopes
Some parameters belong to the clip, not the track — an animation's own settings, or a knob on its clip effect chain. Those automate with a per-clip envelope that travels with the clip: split it and both halves keep their curve, trim or move it and the envelope re-normalizes, duplicate it and the copy carries it too.
- Edit them in the inspector. Select a timeline clip and its parameter panel offers an envelope per parameter, opening the full envelope editor over the clip's
0–100%. - See them on the canvas. A clip carrying automation shows a small badge; click its chevron to expand a faint, read-only preview of its curves right on the clip body. Editing stays in the inspector — the overlay is just there so you can tell at a glance which clips move.
Per-clip envelopes are also how a captured performance remembers the knob rides you did on each clip — see Capture & Export.
Arranging Clips
Drag clips onto tracks, then move, trim, split, duplicate, fade, and crossfade them — direct manipulation with snapping and one undo step per gesture.
Audio Tracks
Drop an audio file onto a timeline audio track, see its waveform, mix it with volume, mute, solo, and routing, and arrange your visuals against the beat.